

Critical notes and suggestions on conventional post production techniques in the digital age. A black and white photography tutorial.
Introduction
People familiar with my black and white post-processing workflow may conclude that the technique I utilize for black and white post-processing isn’t that advanced and are merely tricks to obtain a visual effect. It’s just partly true, yes, the techniques aren’t very advanced at all but no, they’re not just tricks to obtain a specific visual effect. The method I developed for myself, called iterative selective gradient masking 2.0 (iSGM2.0), and use in practice, originates from the fundamental notion that I can’t and won’t let myself be restricted in my artistic expressions by what is seemingly possible with the tools everyone knows for black and white photography post-processing: Photoshop, Lightroom, and plug-ins like Silver Efex Pro 2 and Topaz to name just a few.
“In my strong opinion I find the tools most photographers are working with are developed with outdated ideas on how a black and white photograph should be created, since those tools are for an important part designed and developed by marketeers and software engineers with a passion for photography but not by artists who have different mindsets and objectives”
Too many times I’ve seen photographers trying to create a black and white photograph in Photoshop or with a plugin, only to find out that the practical execution of what they had in mind is too limited by what the sliders of Photoshop features can do or by the presets and detailed adjustment features of plugins. Yet they persevere in getting it right but without the intended results or, worse and unfortunately most of the time the case: they give up and they conclude that the image ‘isn’t working’. In my strong opinion, I find the tools most photographers are working with are developed with outdated ideas on how a black and white photograph should be created since those tools are for an important part designed and developed by marketeers and software engineers with a passion for photography but not by artists who have different mindsets and objectives. They often require different tools than is anticipated by the mainstream. For example, colors are converted to black and white in a predefined way: blue can convert to mid-gray, light gray or even black. Same for the color red or other colors: it all depends on the specific software filters you use in the post-processing or by the software algorithm that are all derived from the conventional analog in-camera techniques.
“Why is working in black and white still so much depending on and driven by the original color information and the hues they originally have?”
Why do we still use principles from the analog era in our modern digital era? If you think more critically and deeply about what a photograph really is and what it consists of, then this and other questions may genuinely arise: why are we still doing this? Why is working in black and white still so much depending on and driven by the original color information and the hues they originally have? My proposition: they should be less dependent on the original color information and more driven by what the artist had in mind, without any limitation imposed by the tools and the software algorithm. Of course, colors are still important since they can provide you with a base conversion to tweak to your own liking but at some point, you need to let go of the relationship with colors. As soon as possible. I’m suggesting a different approach, an approach based on a few principles, that I already utilize in my iSGM2.0 technique, even if just in a very basic form.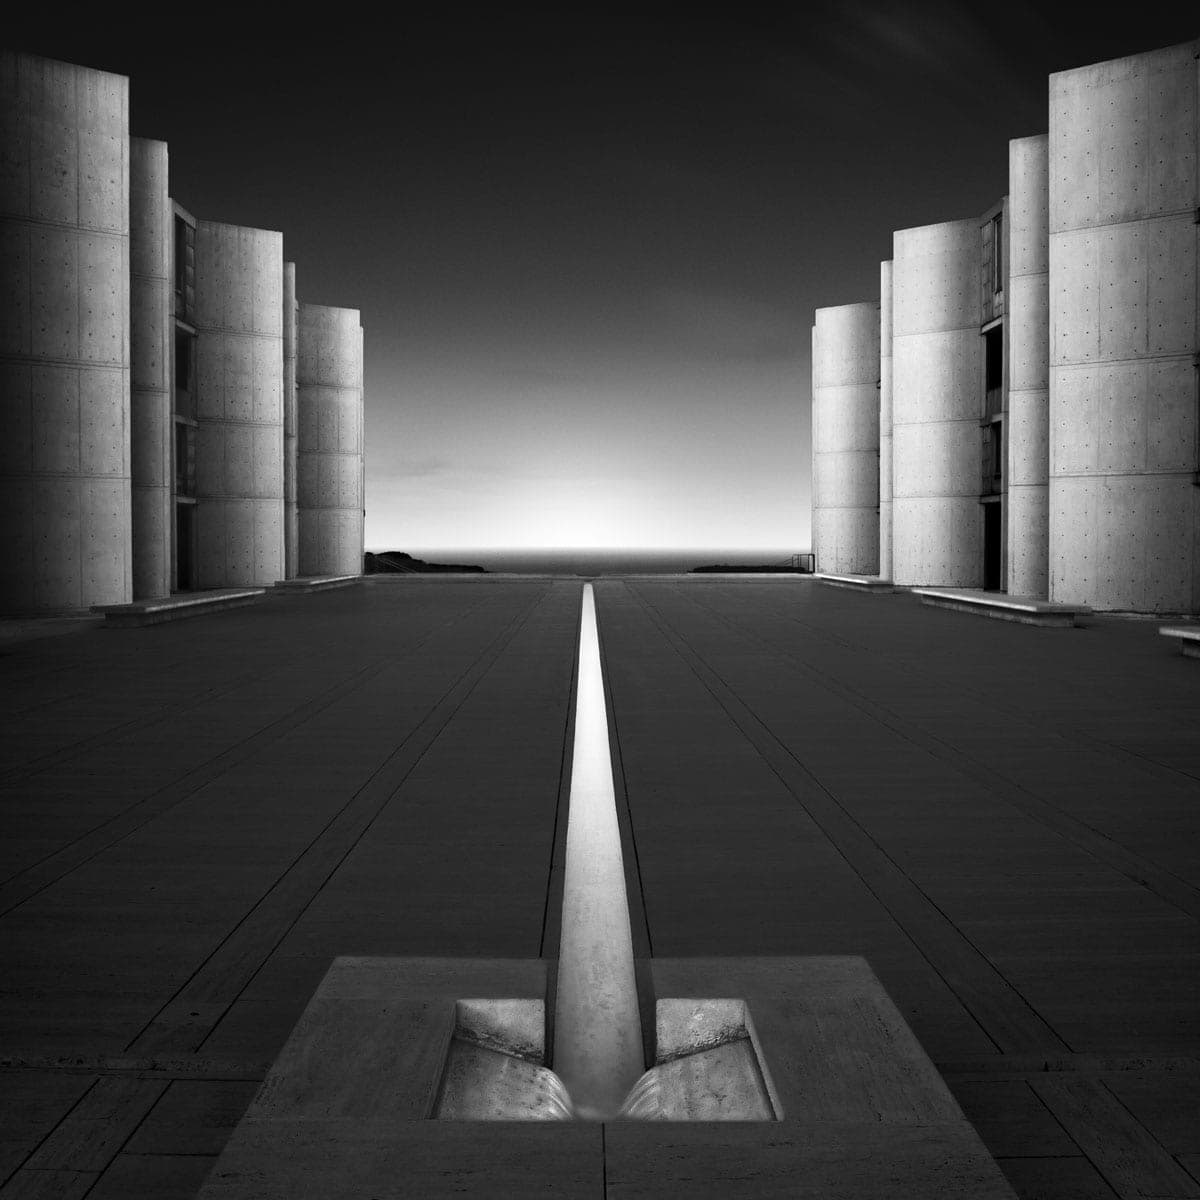
Salk Institute, La Jolla, CA
I’ve started developing my current iSGM2.0 method back in 2009 when I found out that the common existing methods of black and white conversion, with Photoshop, Lightroom, or with additional plugins, didn’t give me the results I had in mind. It took me till 2010 before I could also rationalize and explain what I was doing intuitively before then, and all my creative ideas like this method and ‘creating presence‘, all came together. One of the best results that encompassed all those ideas was ironically an image that I photographed and created for the NIK Software SEP2 launch in 2010, is the Salk Institute photograph.
Two Leading Principles In Black And White Photography Post Processing
Perhaps only a few people know and acknowledge the different artistic thought process and practical approach that lies behind my so-called iSGM2.0 technique and that it’s less of a trick and more of a practical approach to let the personal artistic vision prevail and be unrestricted by conventions in black and white photography post-processing. Because that’s what my method really is. I’m not trying to propagate my specific method, it’s nothing more than my personal tailored way of applying what I think is a better approach to black and white photography than what the likes of Adobe, plugin developers, and their teachers and protagonists are trying to make us believe. If you can develop a better method or even software that is based on the same principles I use, then by all means, please do so. I would strongly encourage doing so and I hope one day a plugin developer will use my suggested principles for creating better black and white post-processing software that really lets the artist think in an infinite array of possibilities in the phase of post-processing, instead of imposing a specific translation of an interpreted scene into black and white.
Suggestion: Instead of using the obligatory software for black and white photography editing and accepting their limitations and concluding your image can’t be worked with or that the final result should do because it can’t be bettered, reject it and think: what do I really want to create if the limitations of the software weren’t there and I forget about the original color information completely and create something truly originating from your personal vision? The only limitation should be in the artist’s mind, not in the tools. And if the tools don’t give you the artistic freedom you crave, then let go of those tools and create your own tools. That’s what I did with iSGM2.0.
“it’s about intensities of light and presence of shapes”
Having that idea is one thing, but to be really able to do it is another thing. So how can and should you really do it? I will give you a few principles that you can use and should use perhaps. I personally think that black and white post-processing should be driven by two principles only:
- Identify light, isolate it, and control it by creating luminosity masks in Photoshop – ‘soft selections’
- Identify shapes, isolate them and control them by creating accurate selections in Photoshop – ‘hard selections’
Or like I formulated it in the book From Basics to Fine art where I go into detail about my black and white post-processing workflow: it’s about intensities of light. And I now want to add to that: it’s about the intensities of light and the presence of shapes.
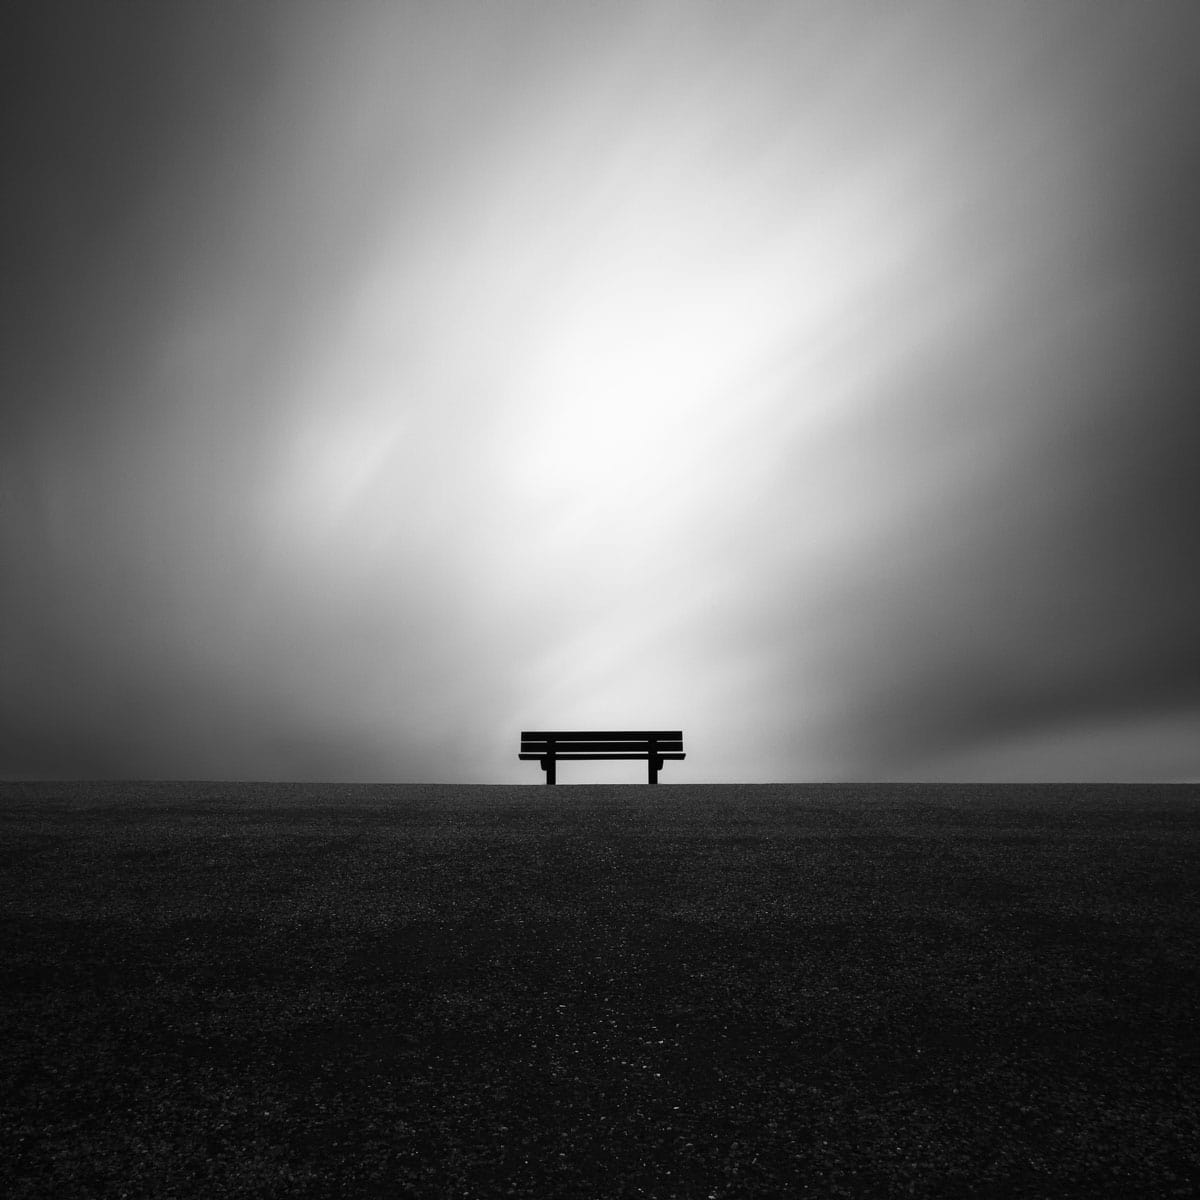
ZENITH 2010 – A landscape image like this where the ‘presence’ of the object is less important can be created without emphasizing the volume and details in the bench: that’s irrelevant for this scene
Before I explain why those are the two necessary principles that should drive your black and white processing workflow, obviously initiated from your personal artistic vision, I need to say that not all photographs have obvious objects or objects that need depth and volume, since the objects in some photographs are less important. For example a minimalistic seascape or landscape. Any object in there is less important than the overall impression created by the zones of light and the distribution of it. Those objects like sticks in the water or a lone bench don’t need any 3D depth or volume to stand out in your photograph. It would be distracting. But an architectural photo where the main object is perhaps a building needs to be approached in a different way. The object needs to stand out from the rest.
Now the elaboration on this approach. More or less along the same lines as Ansel Adams’ famous trilogy, “The Camera”, “The Negative” and “The Print”.
Two Phases
Before I go any deeper I need to take a few steps back to identify and explore the context of the topic I want to elaborate on and to avoid any misunderstanding. Because of my topic, my suggestions were only related to a very specific phase in the creation of a fine art photograph.
Allow me to quote Ansel Adams:
“You don’t take a photograph, you make it”
To which my response would be:
“First you take a photograph, then you make it”
In essence, I agree with Ansel Adams that the act of creating a photograph just doesn’t happen in-camera only.
The creation of a photograph with the intention of creating fine art photographs consists of 2 phases:
- Taking the photograph: composition, aperture, correct exposure, and subject matter is key in this phase. This is not the end result but just like the marble straight from the Carrara marble quarries that Michelangelo used for his sculptures it’s just the beginning. The raw marble isn’t the objective, it’s just a means to meet his objective. The best reality can give us at a given moment, as the ideal fundament for what the artist wants to create.
- Creating the photograph: either in the conventional dark room or in the digital dark room. The individual artistic interpretation of the photograph as taken is decisive. What the human eye in conjunction with the mind’s eye sees should never be limited by the technical limitations of the camera. Nor should it be limited by black and white conversion techniques.
The method of black and white photography conversion that I developed and present here is meant to enable artists to express their vision without any limitations. To truly create a photograph according to their personal vision. This section will go into the phase of ‘Creating the photograph’ only. When we have taken the photograph, with this slice from objective reality captured in a frame, ready to be molded according to our artistic vision, we’ve arrived at the phase of creating the photograph.
Creating The Photograph
When you are in this phase of creating and editing the photograph then there are only two basic elements when you deconstruct a photograph to its basics: shapes and light. Basically, there’s nothing more than just shapes and light.
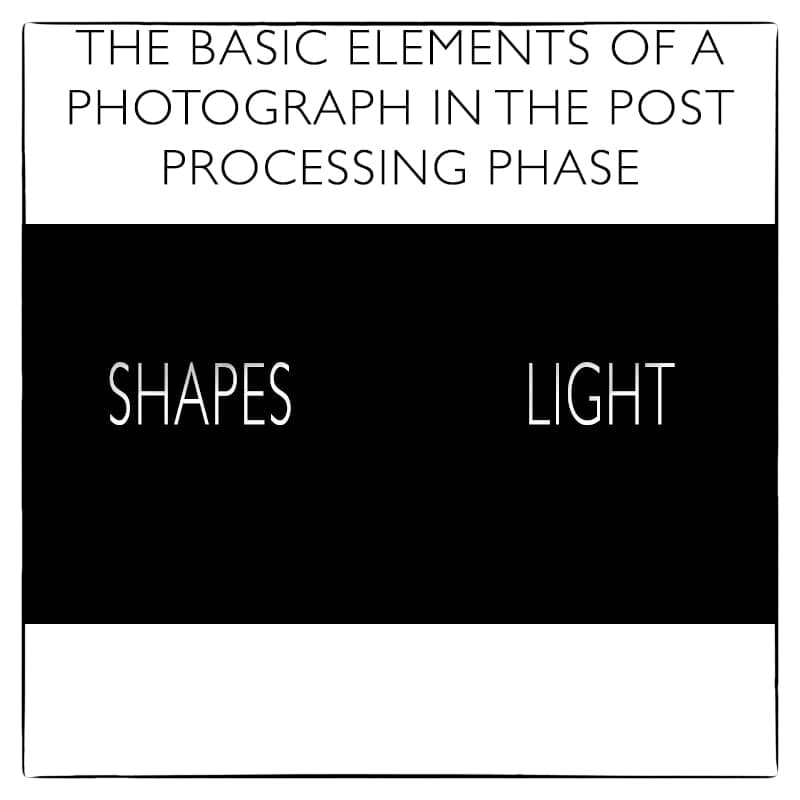
Contrast is just a difference between darker and lighter tones. Color or black and white are just specific characteristics of light. Light and shadow give shape and volume to an object and on the other hand, the shape of an object will determine how light or shadow, depending on the direction of light, will fall on the object and how light will be distributed across this object. Without light, an object cannot be seen and visually identified, but of course, this doesn’t mean that the object with its specific shape isn’t there if it cannot be seen due to the absence of light. Hence both elements, shape, and light, interact in such a way that a viewer can interpret it.
Therefore the following applies: If you want to control a photograph in the phase of ‘creating the photograph’ or simply put, the editing phase, then you only need to control shape and light. How can you control shape and light? First by identifying them, then by isolating them, and then finally by controlling it. As you may probably know, the best way to control something or someone is to isolate it. Once you’ve isolated something or someone, you can fully control it.


6 Responses