Using and creating 16 bits asymmetrical luminosity masks in Photoshop for ultimate control
An article and tutorial on the use and creation of asymmetrical luminosity masks for better and more accurate tonal separation and editing in Photoshop
In my recently released version V1.3 of the B&W Artisan Pro panel for B&W editing I’ve created, there is a novelty I would like to give you some more insight in as it is an essential part of editing photographs with a higher degree of luminance separation and hence control. Even though the panel automates every single step in my workflow, I believe in sharing information that will be of added value for every serious photographer in the digital age.
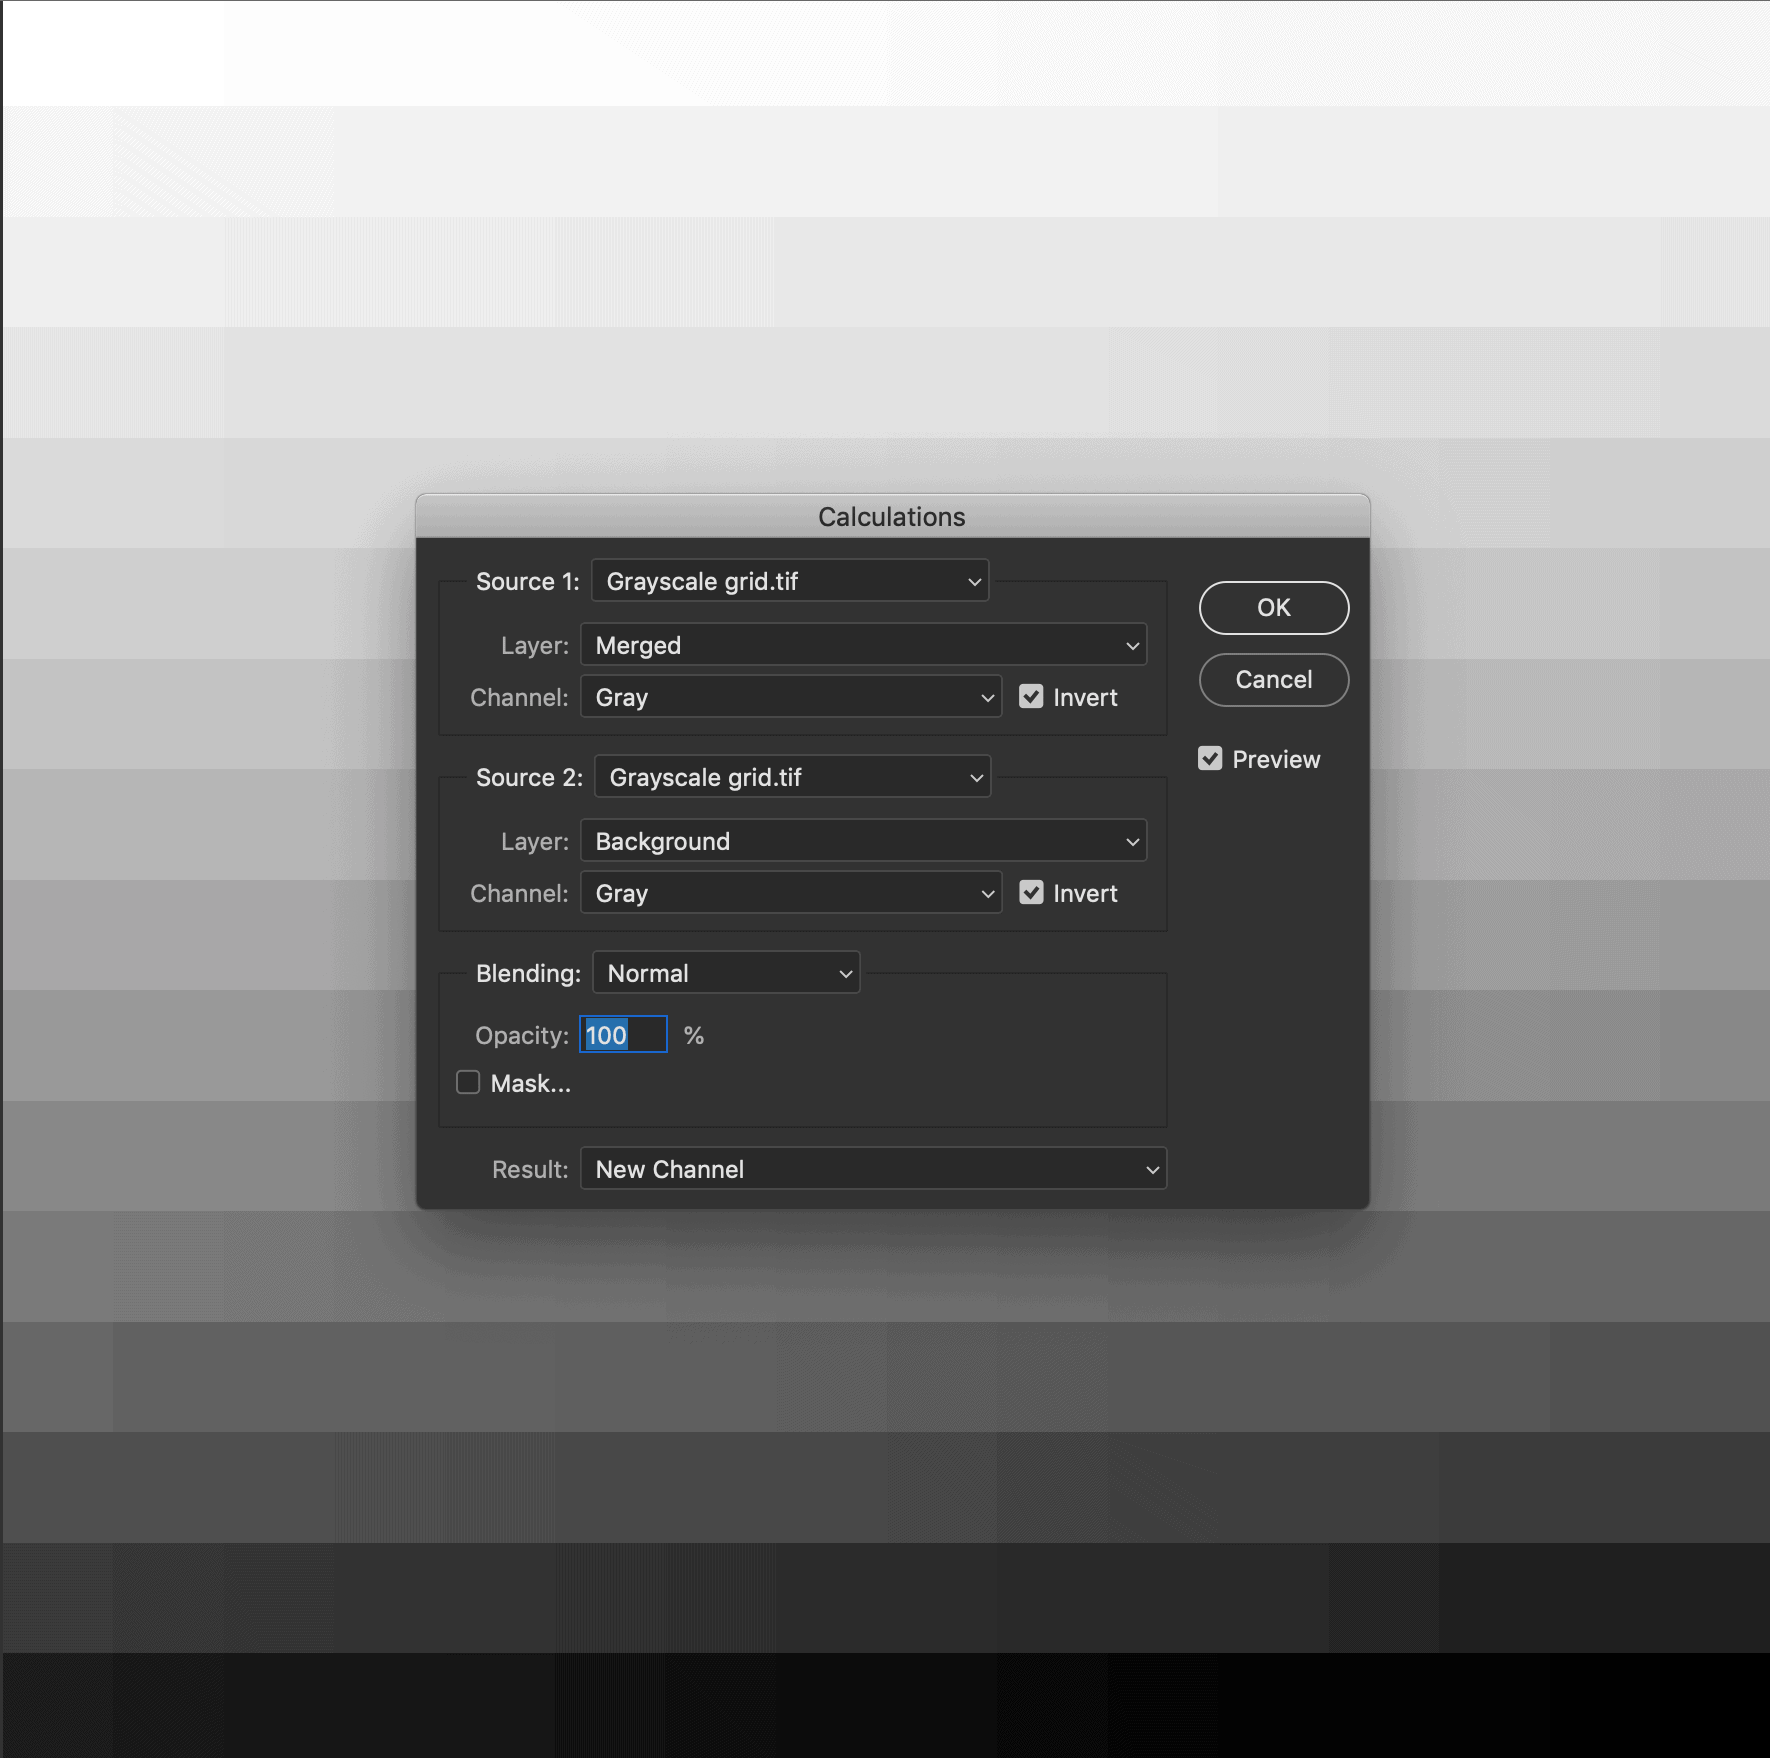
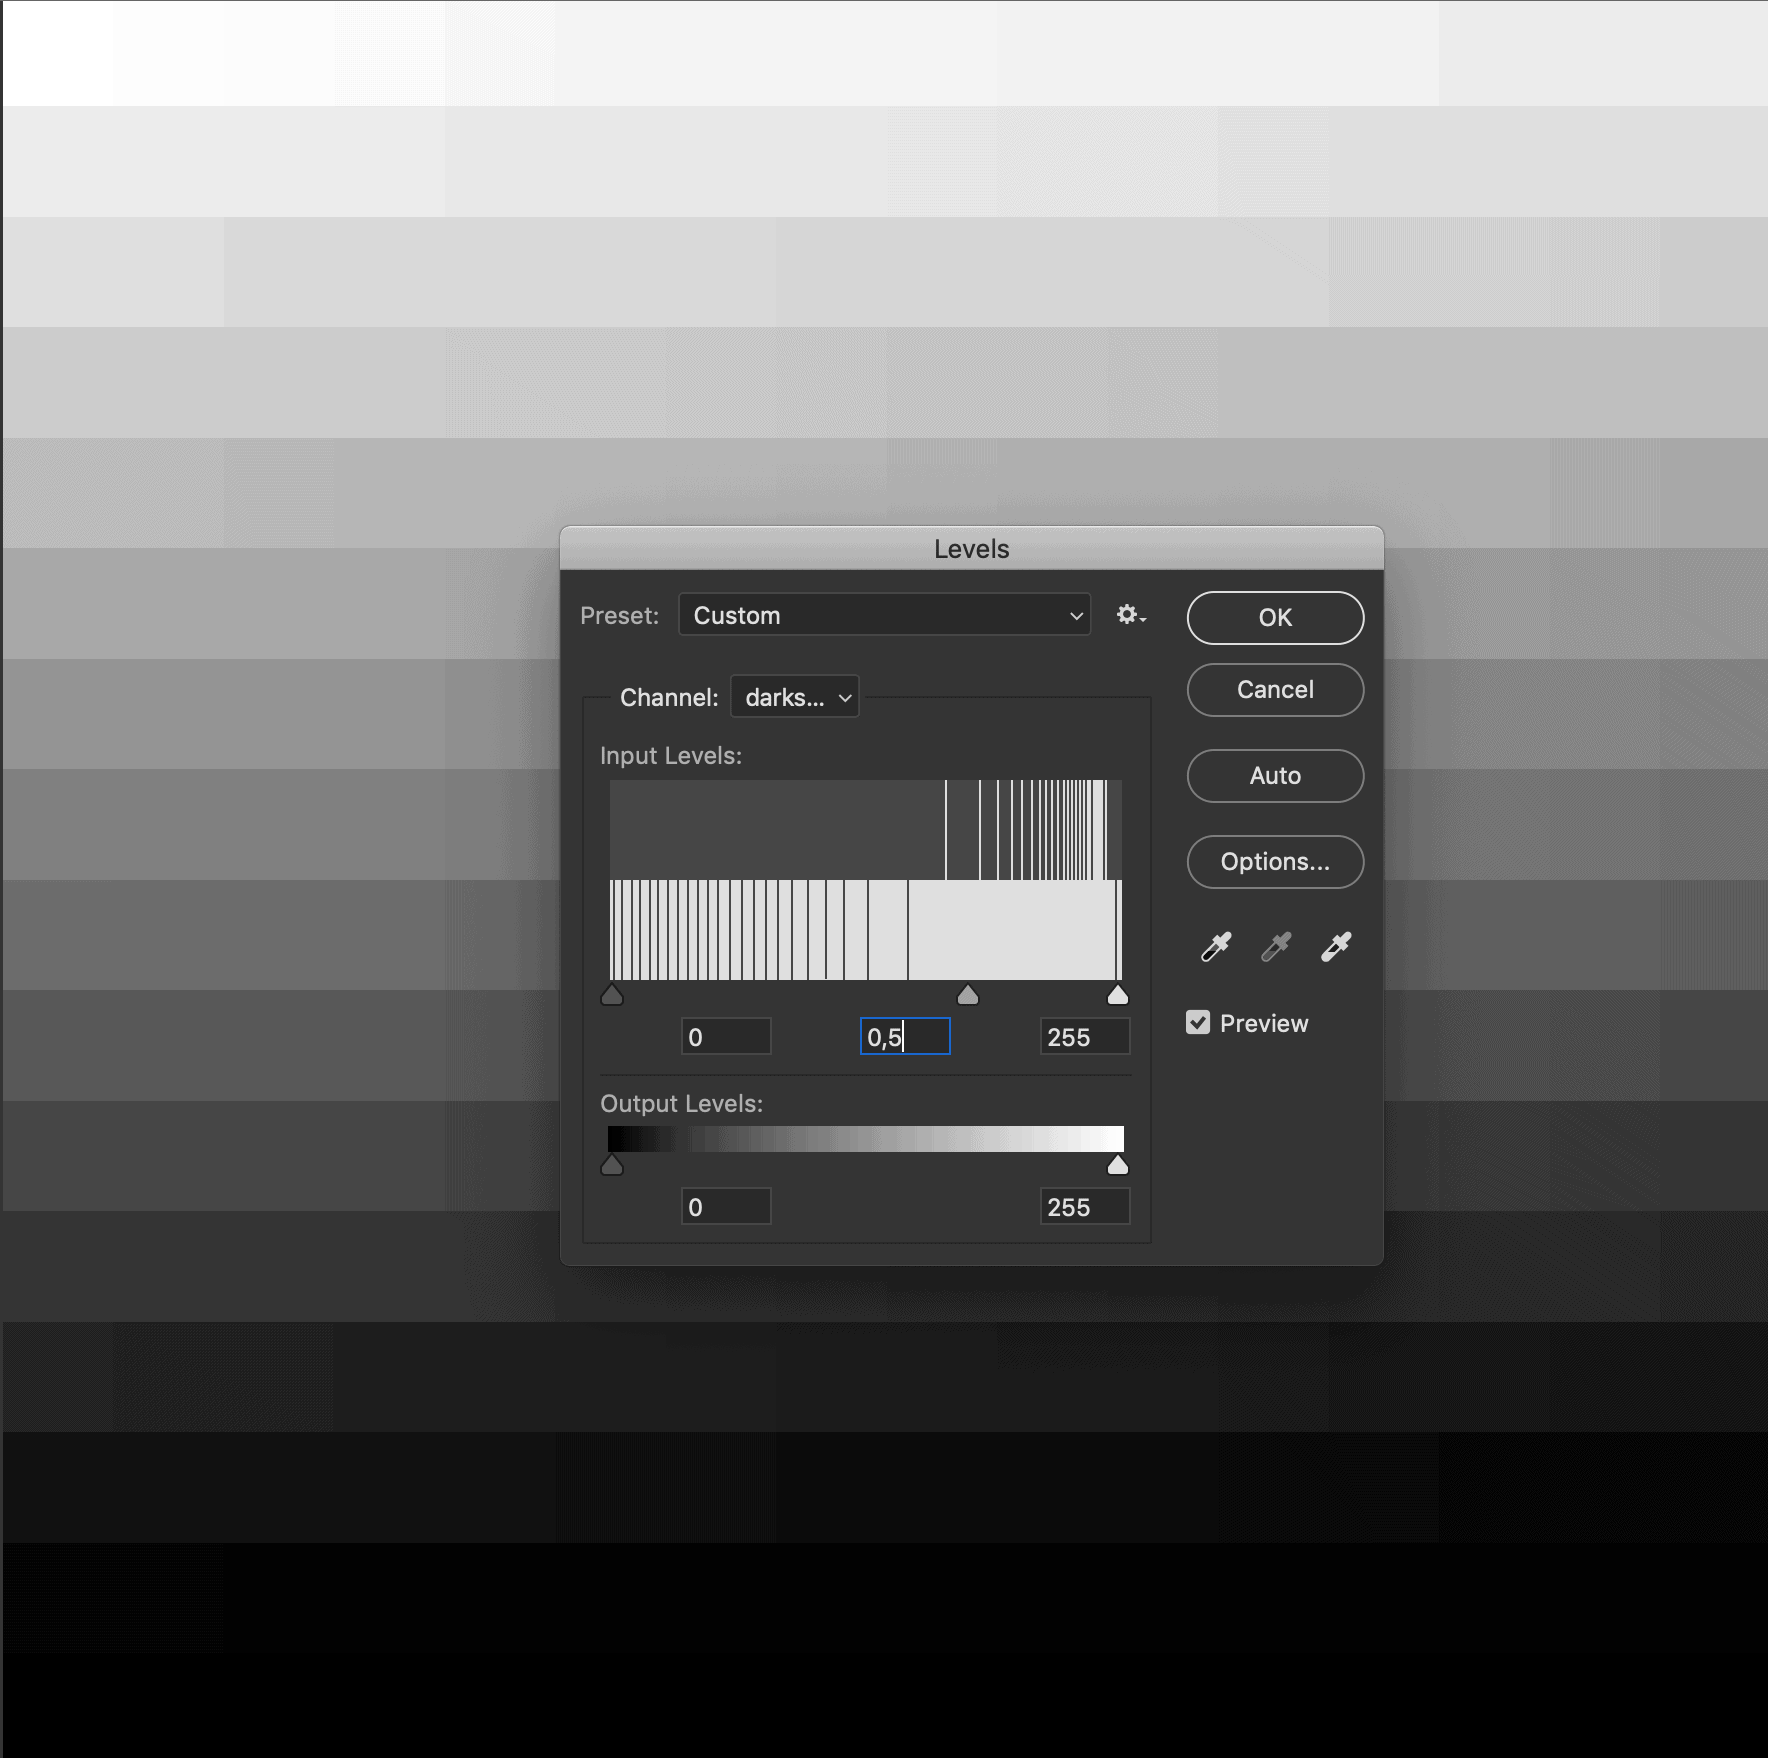
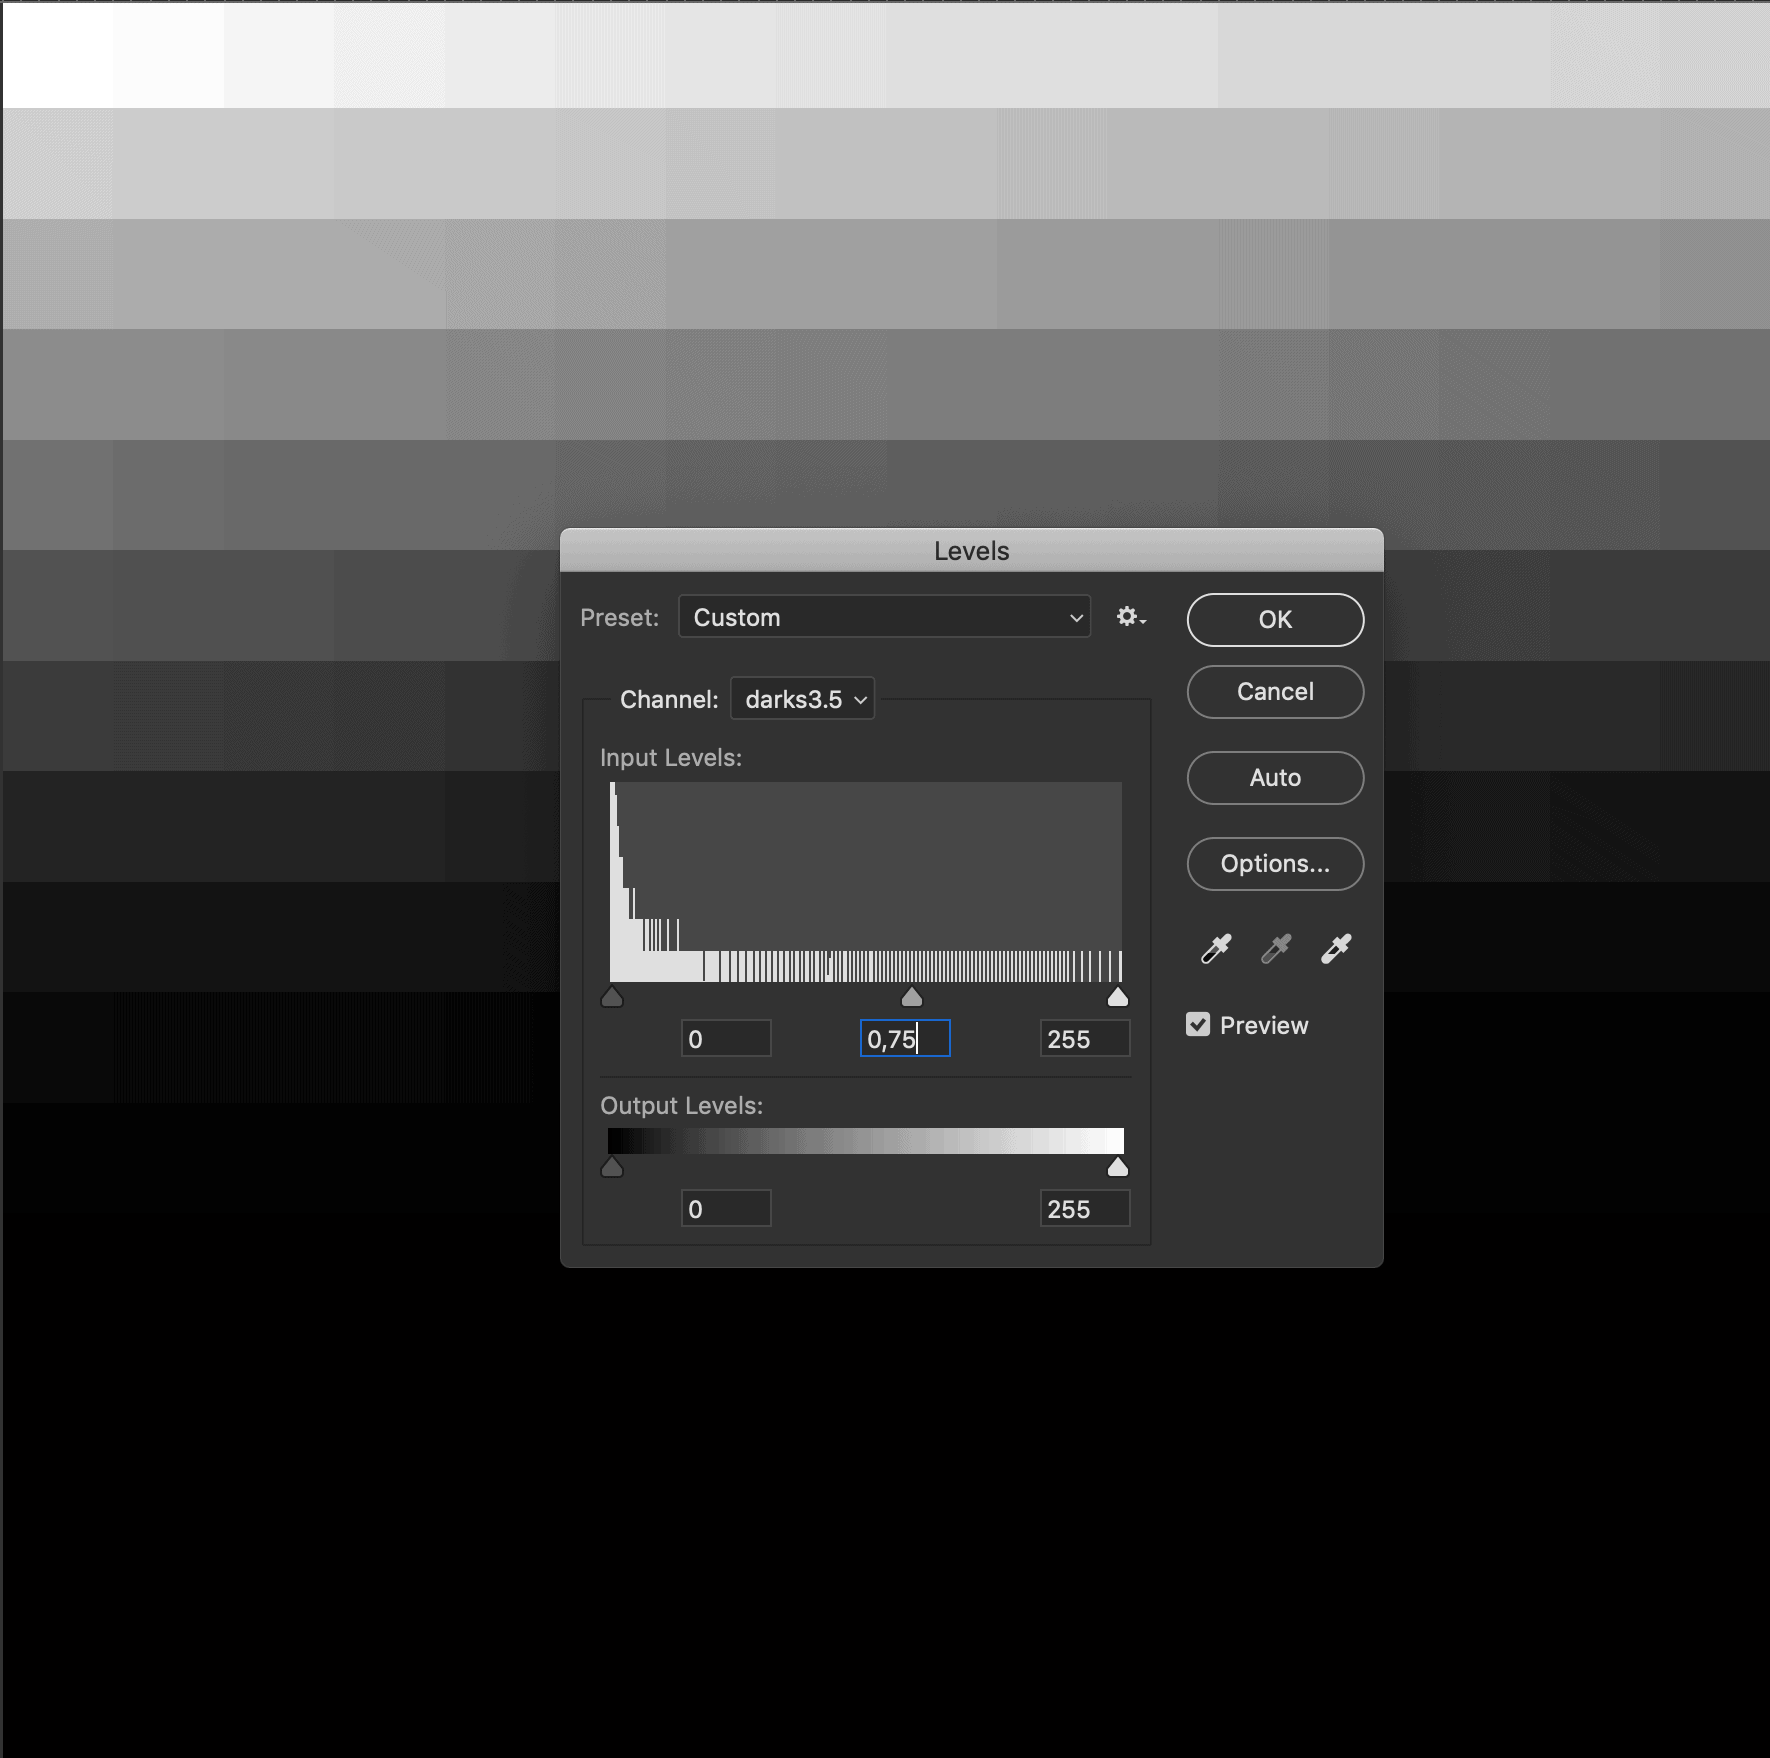
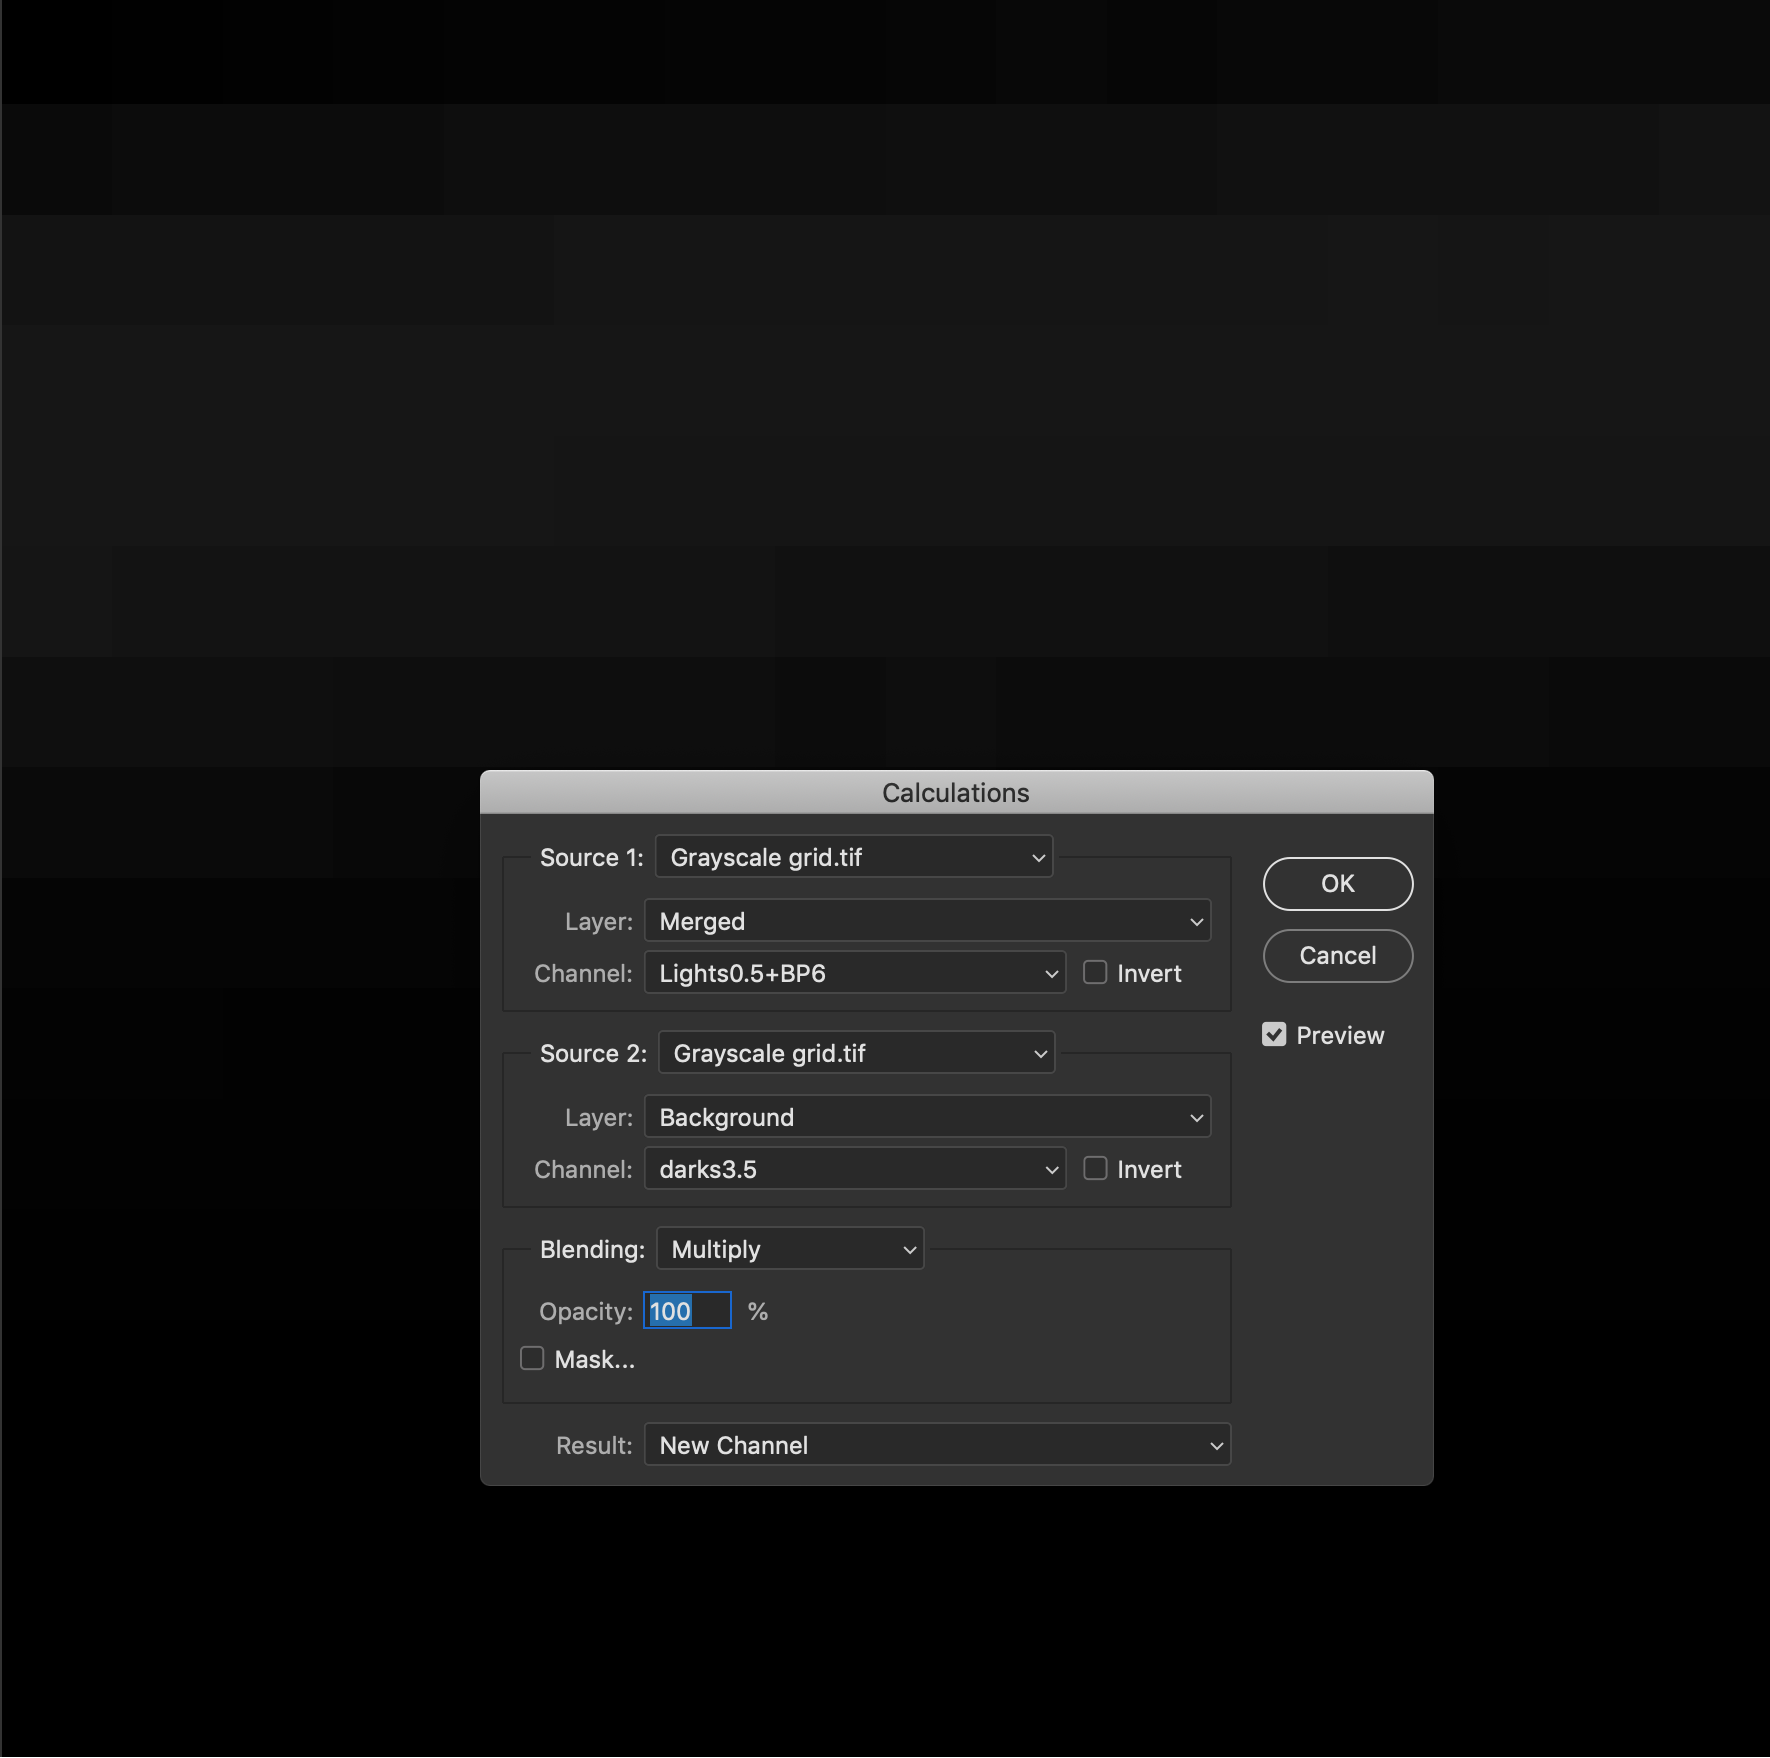
The novelty that I built into the panel is a variation and combination on the luminosity masks and zone masks Tony Kuyper, the inventor of the luminosity masks, is suggesting on his website and are called asymmetrical masks. Basically zone masks are asymmetrical masks, but I found a way to make the asymmetrical zone masks more accurate and at the same time with the full depth of 16 bits, when compared to the usual zone masks. I will try to explain in this article what asymmetrical masks exactly are and how to create them yourself with 16 bits depth.
Let me start with the discussion on 16 bits luminosity masks versus the more ubiquitous 8 bits luminosity masks.
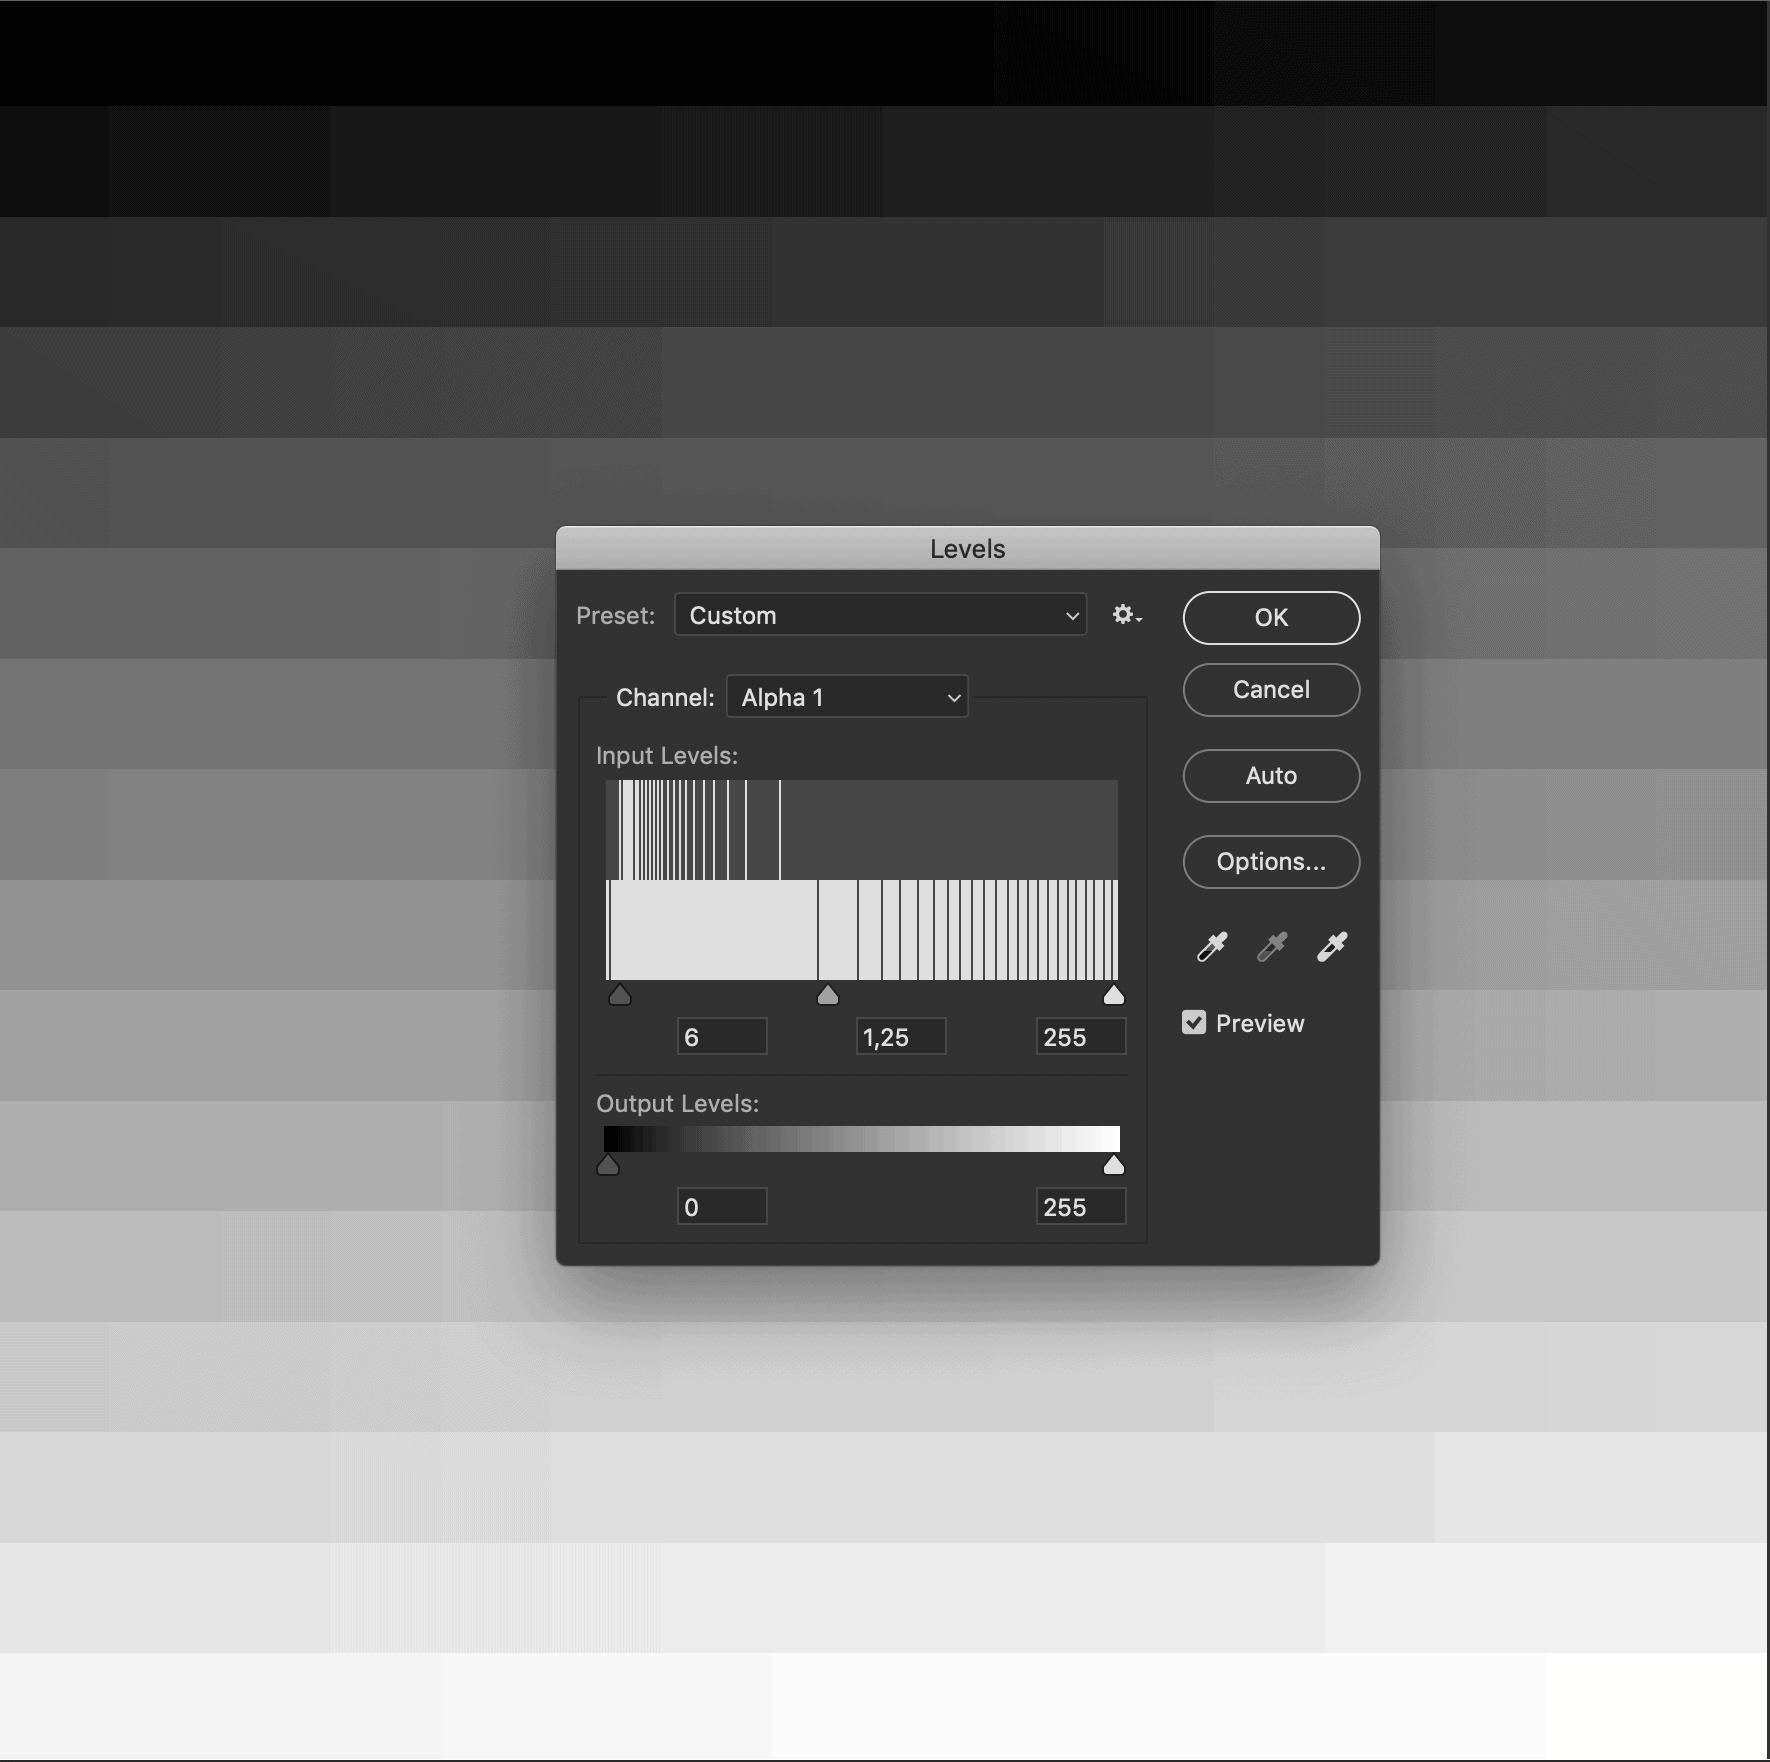
The practical effect and benefits of using 16 bits luminosity masks instead of 8 bits luminosity masks are negligible and only visible when pushing the contrasts/adjustments to extremes. One reason for this is that channel masks that can be created in 16 bits, in this case luminosity masks, are only practically useful when they’re loaded as selections. Selections in Photoshop are always 8 bits. So this mitigates the effect of the full channel depth of 16 bits.
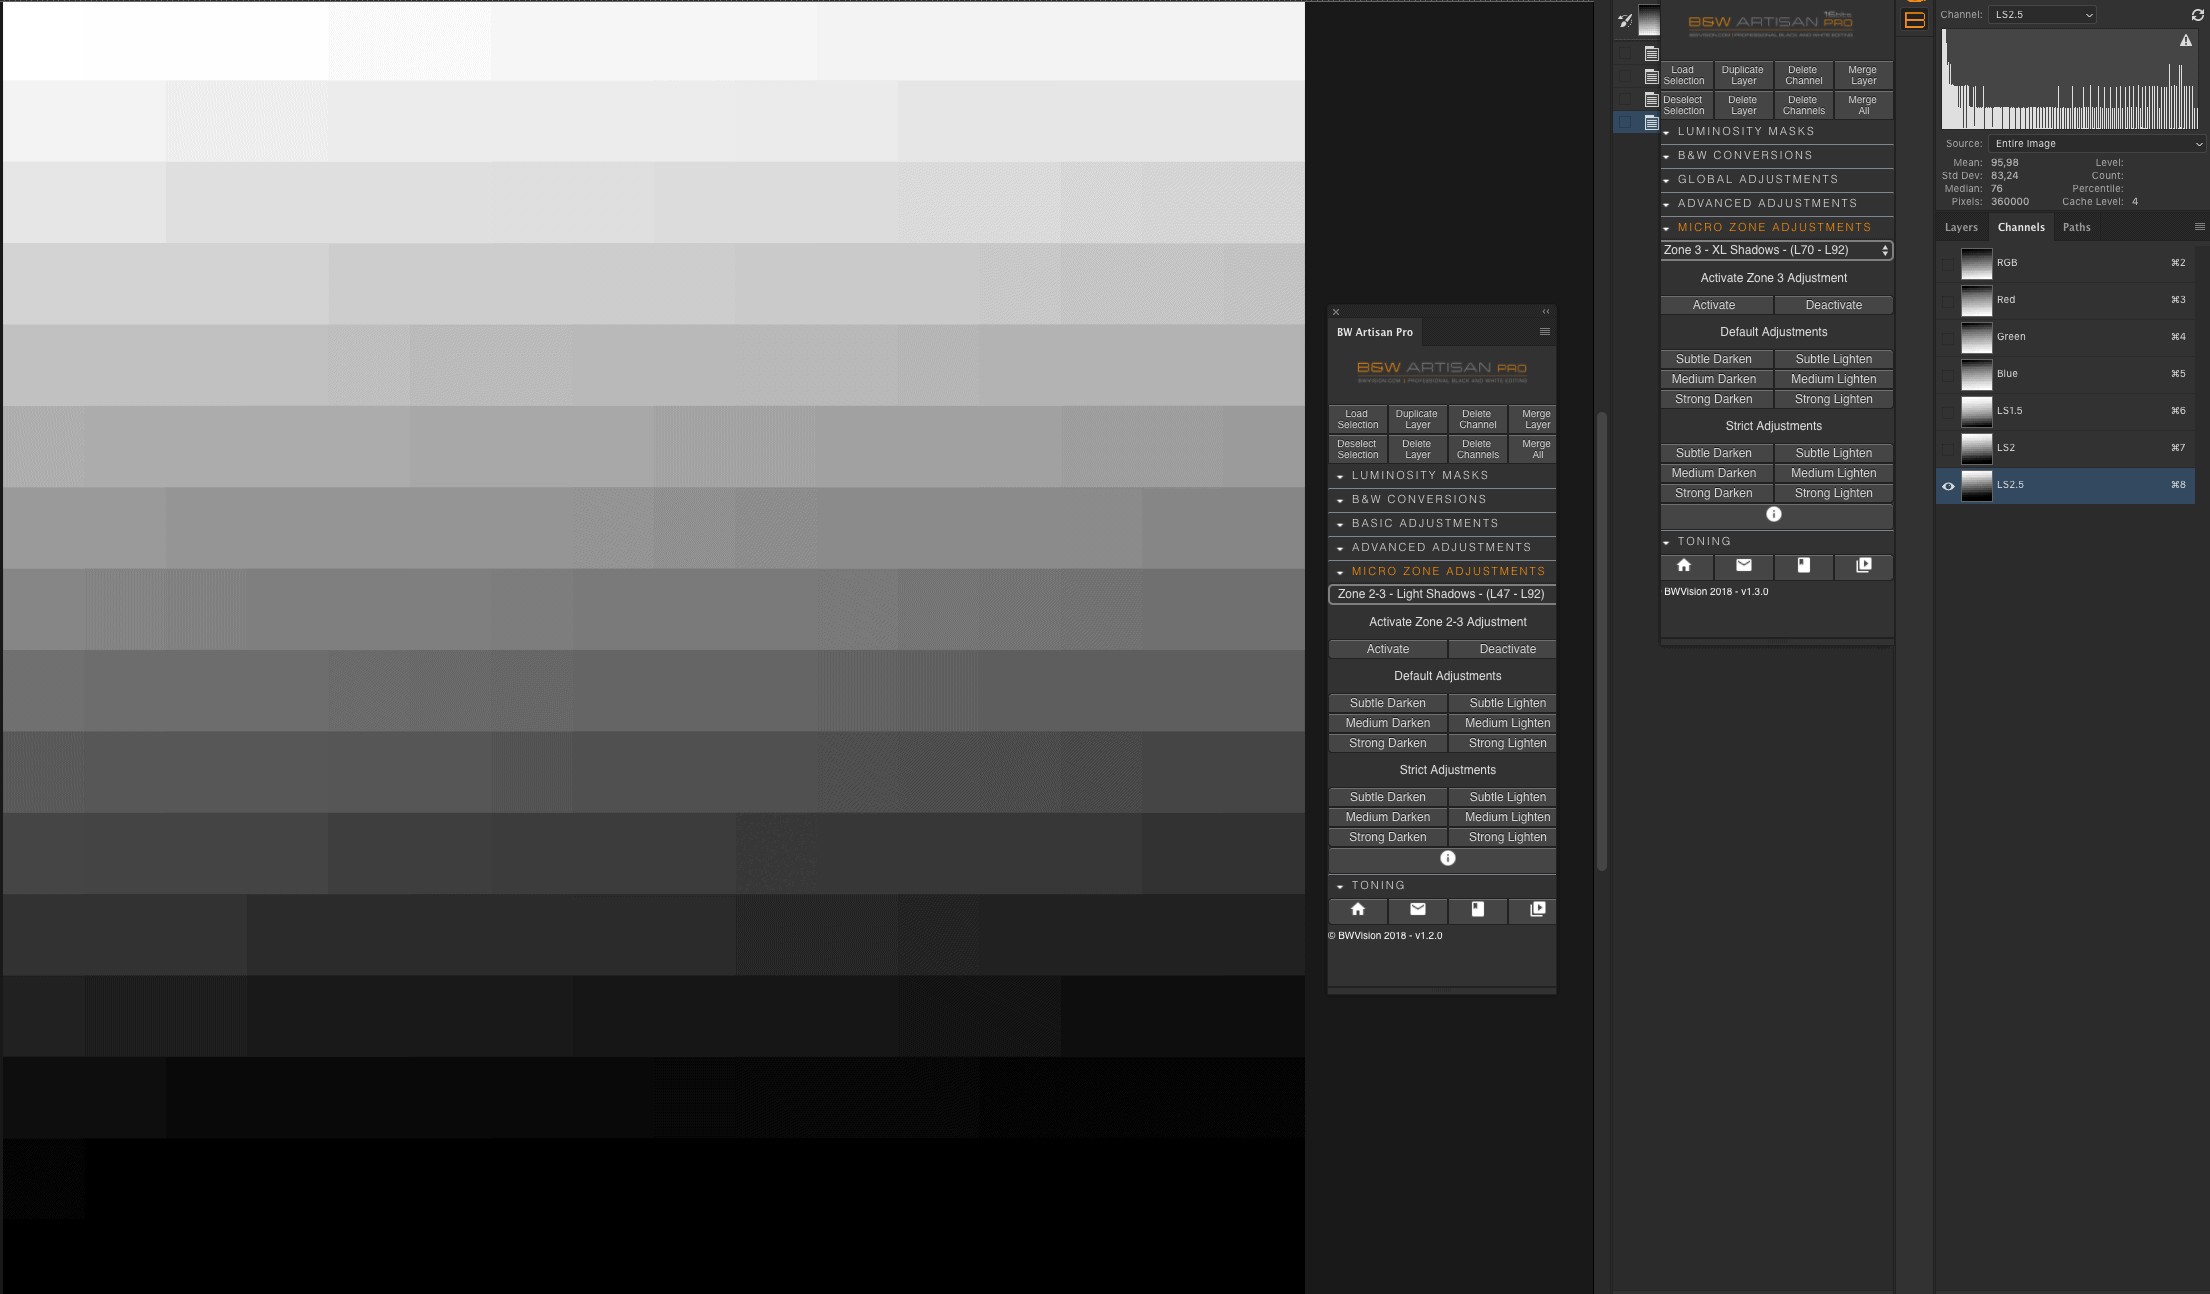
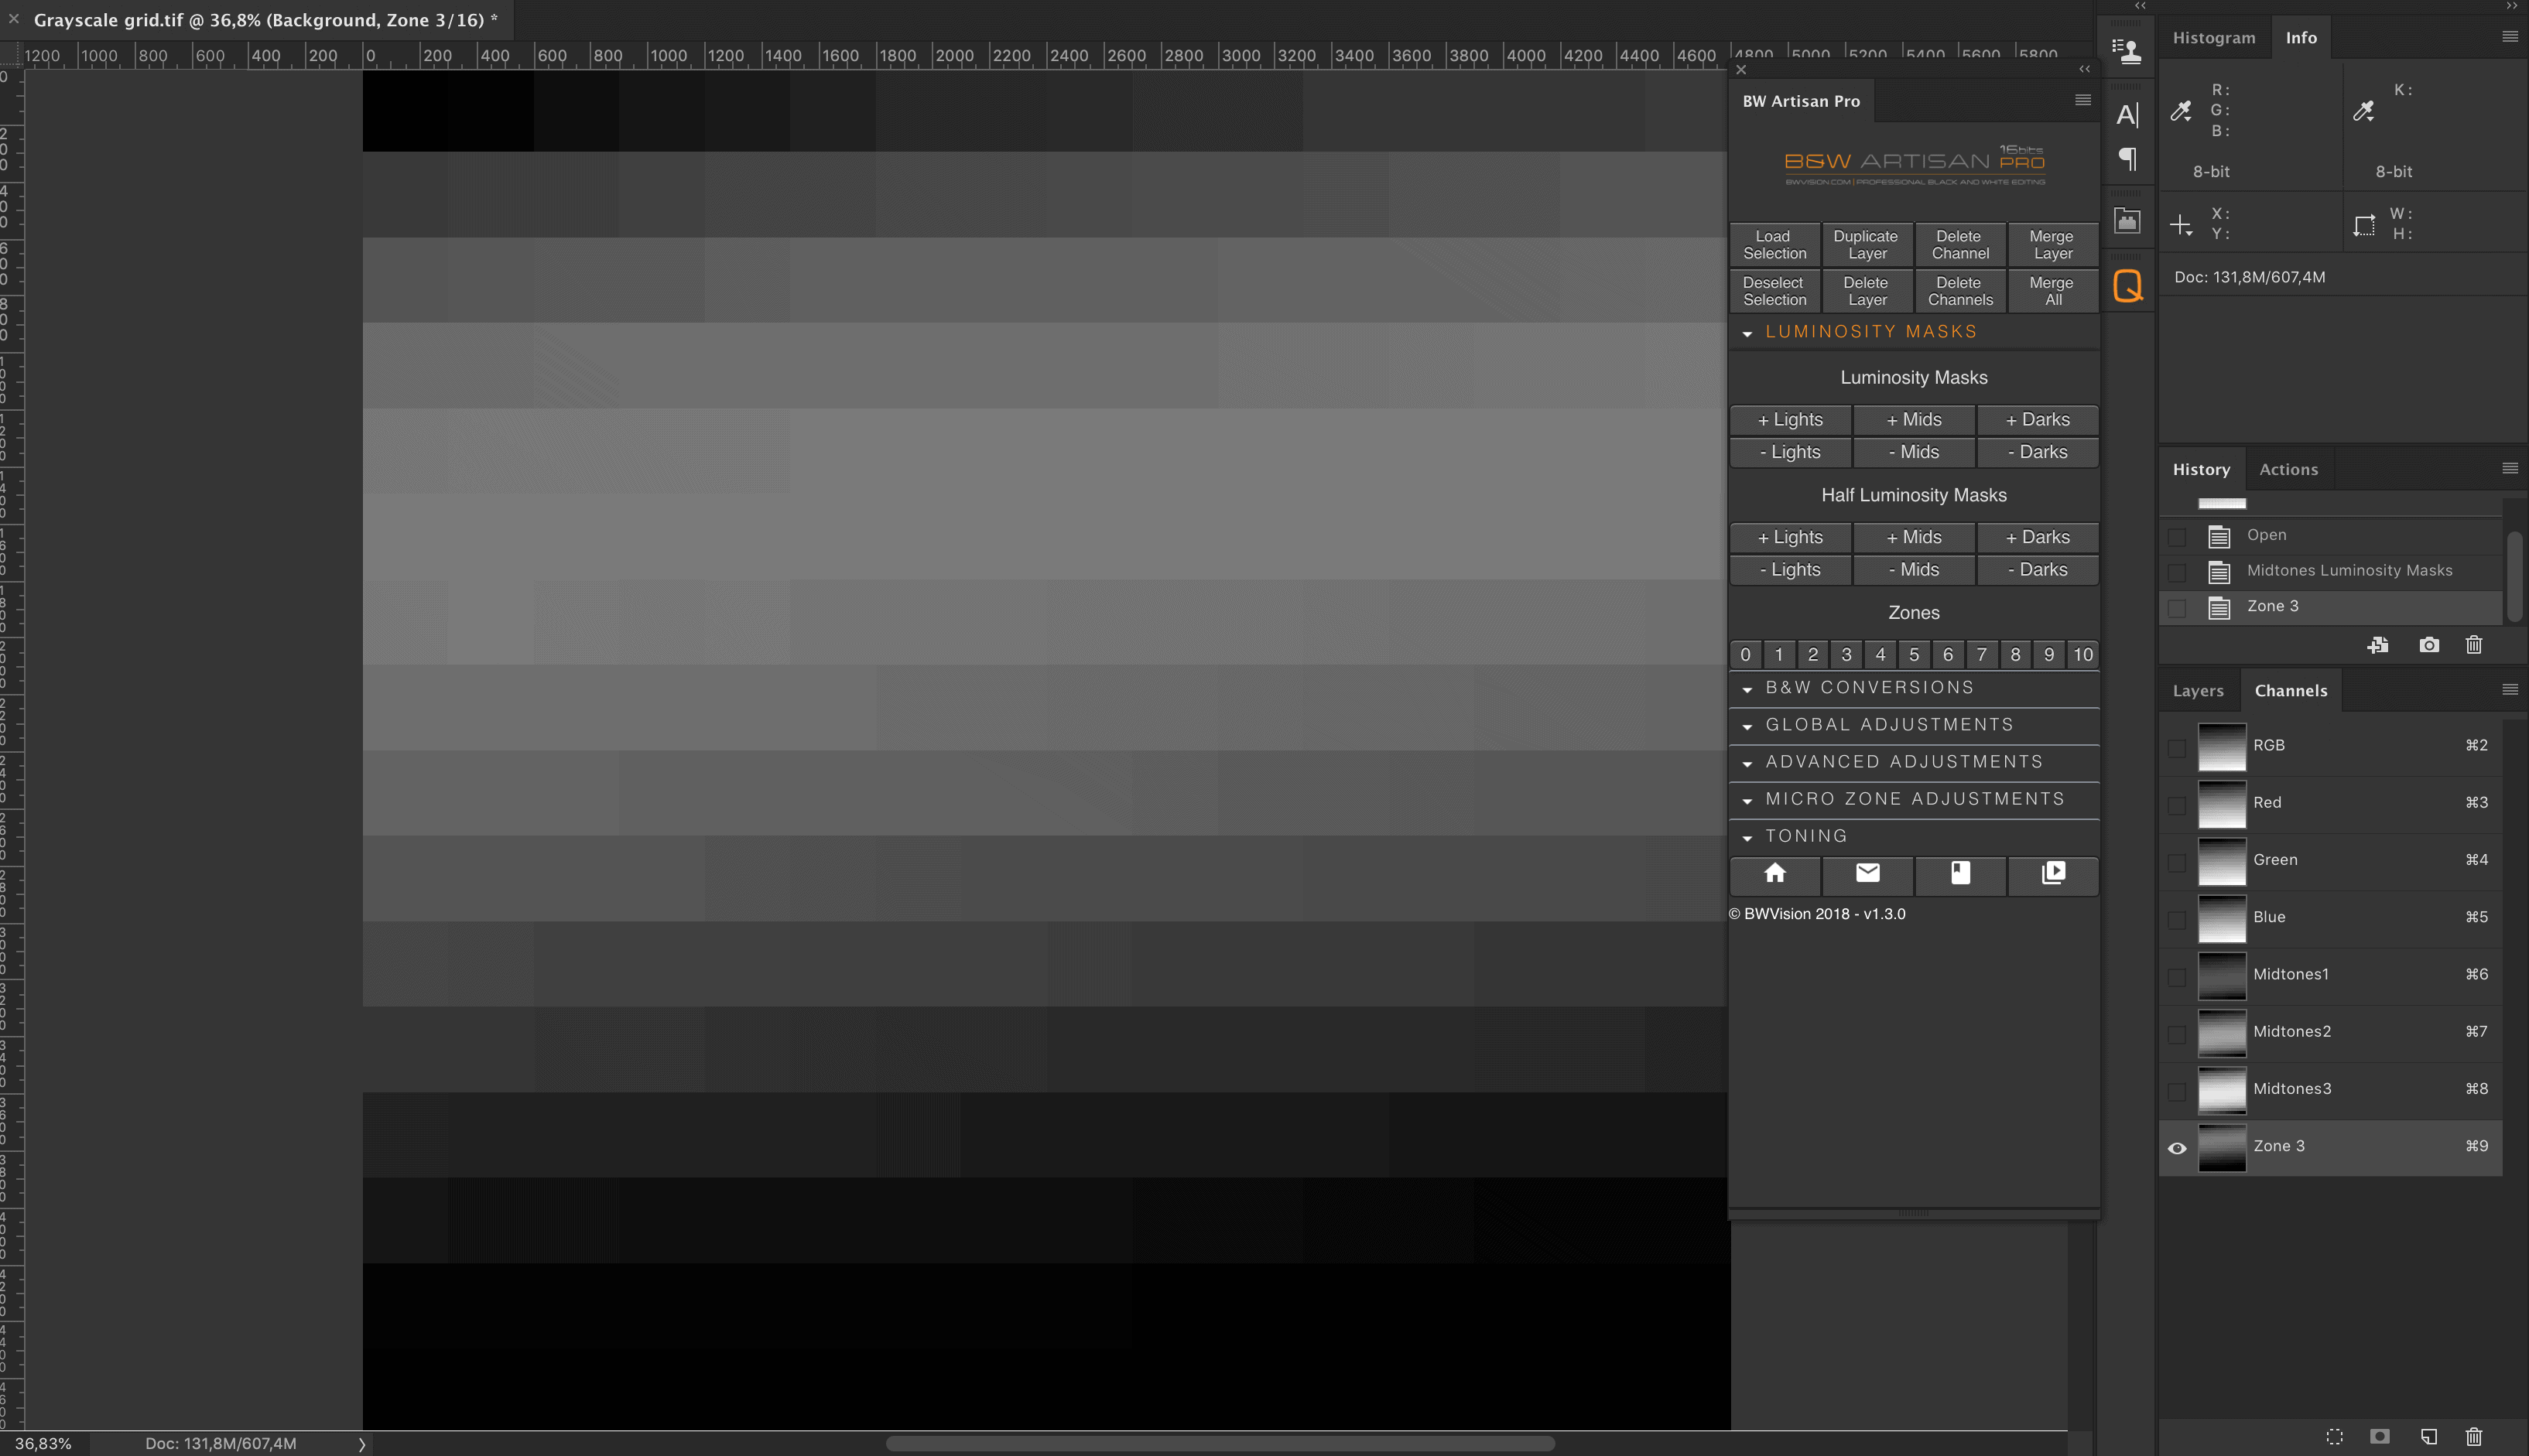
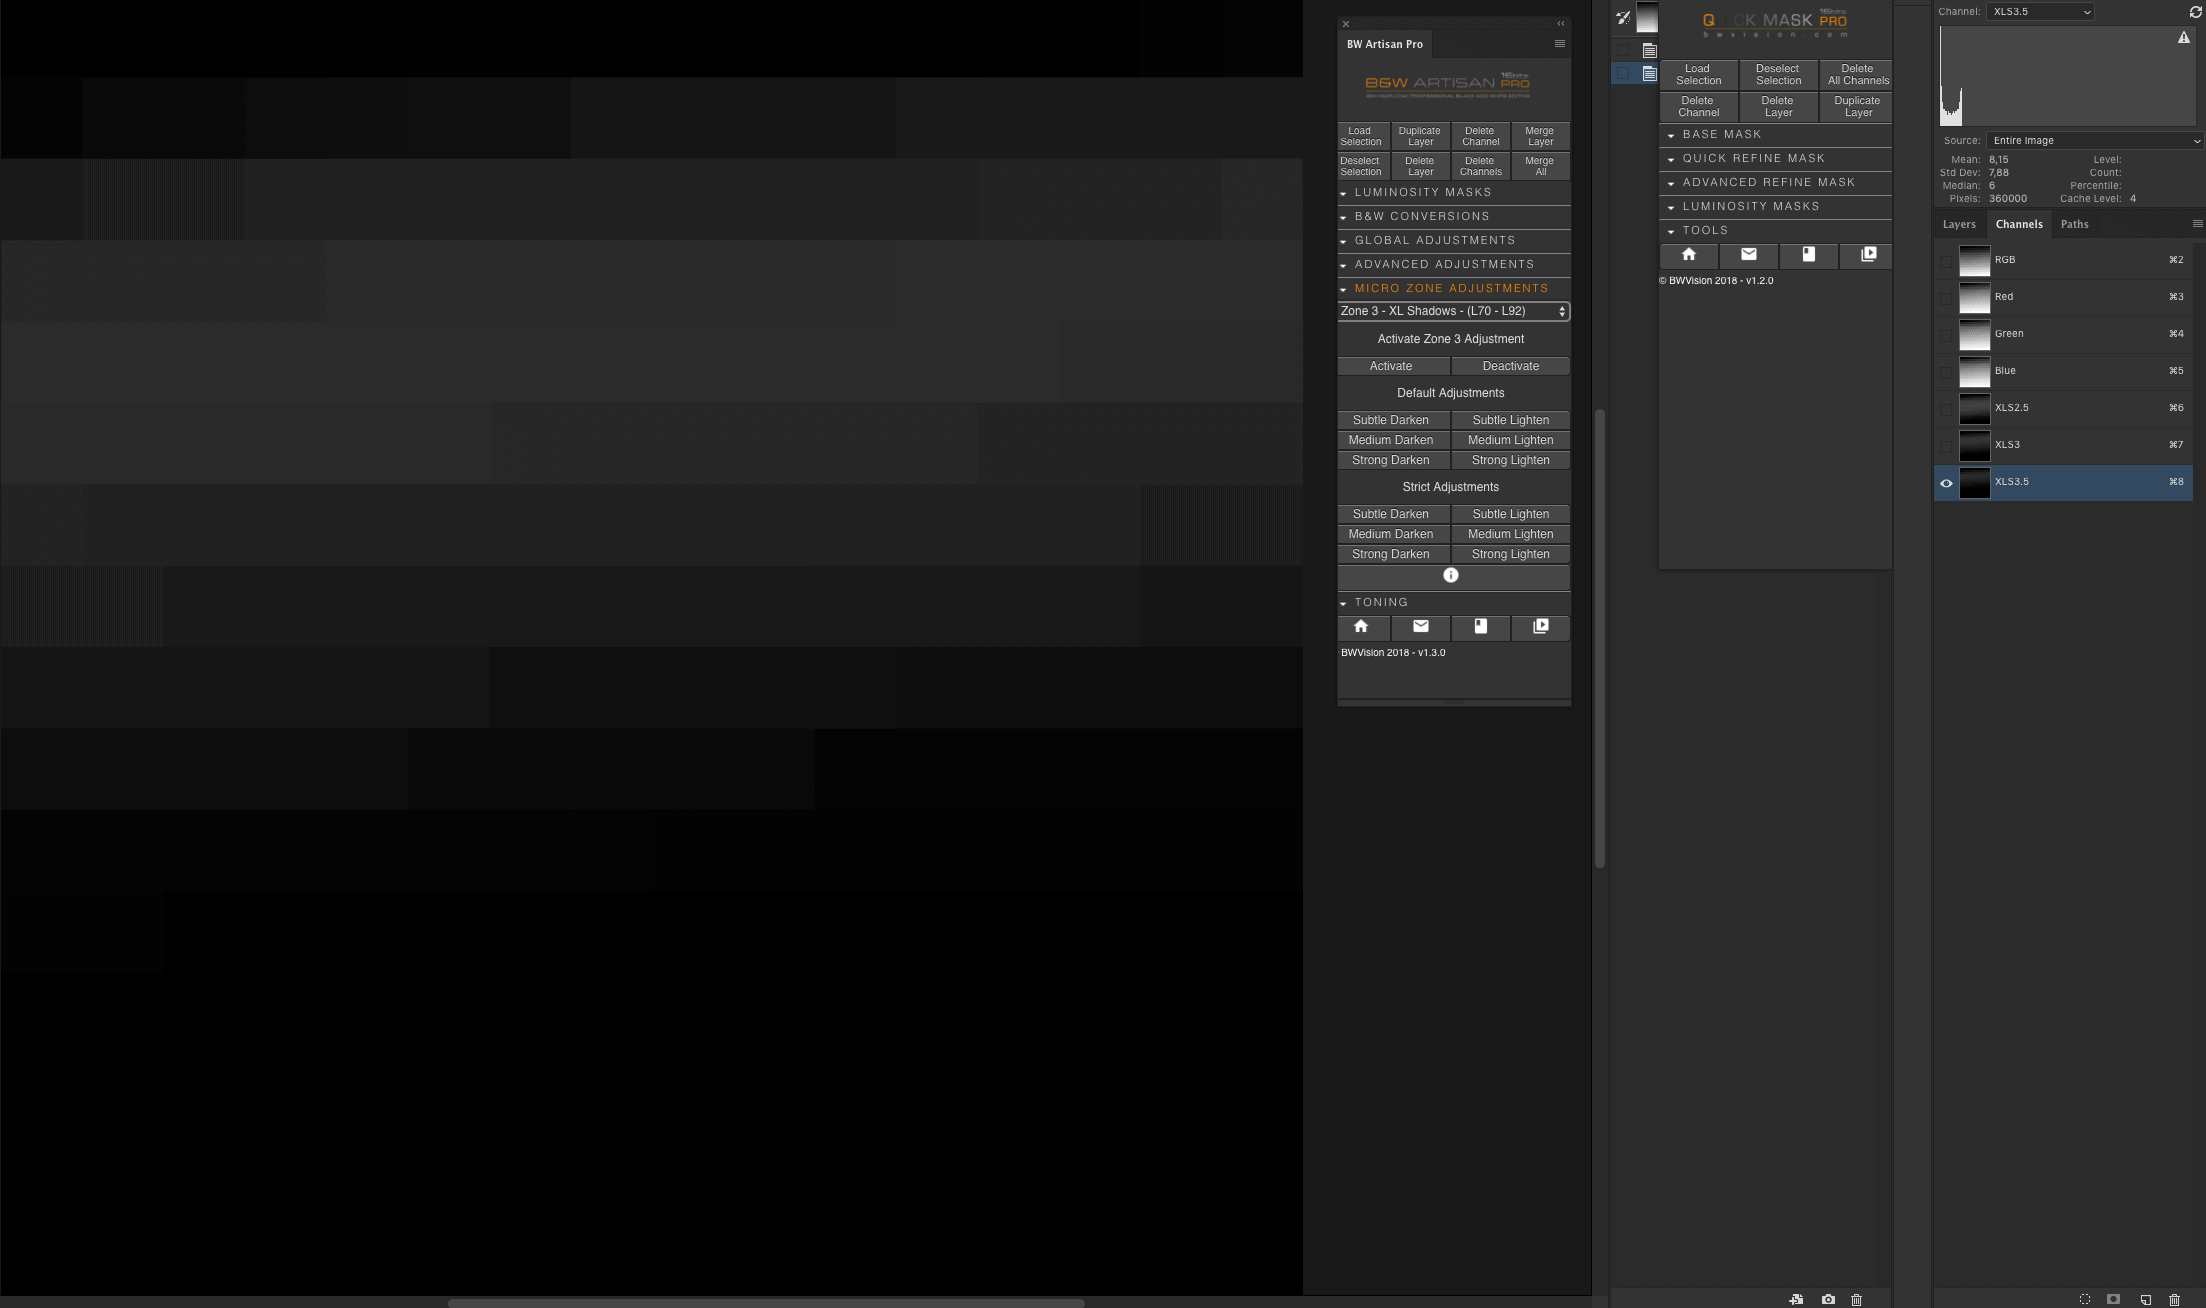
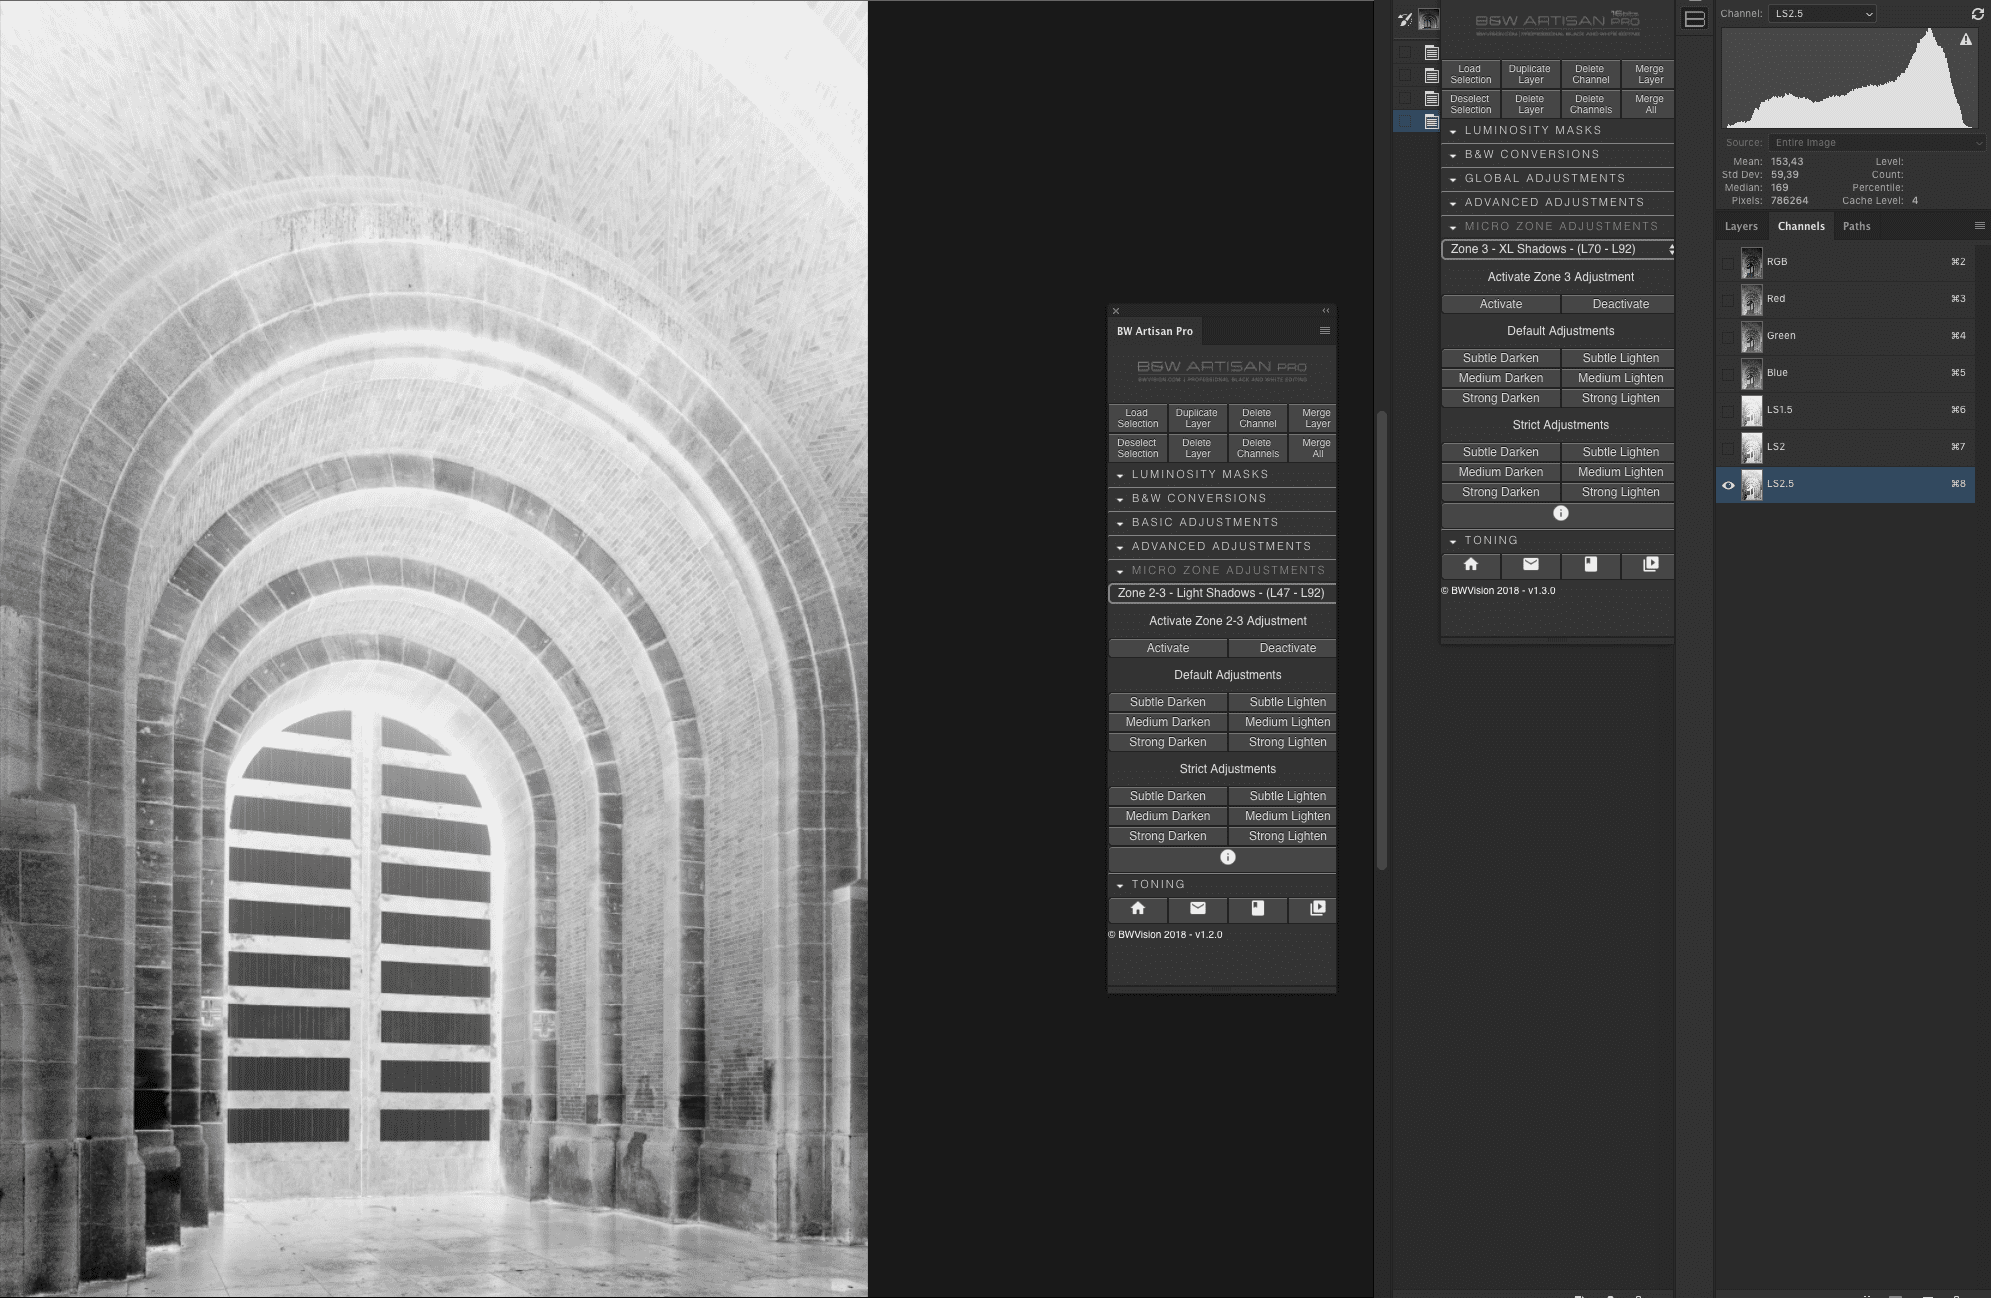
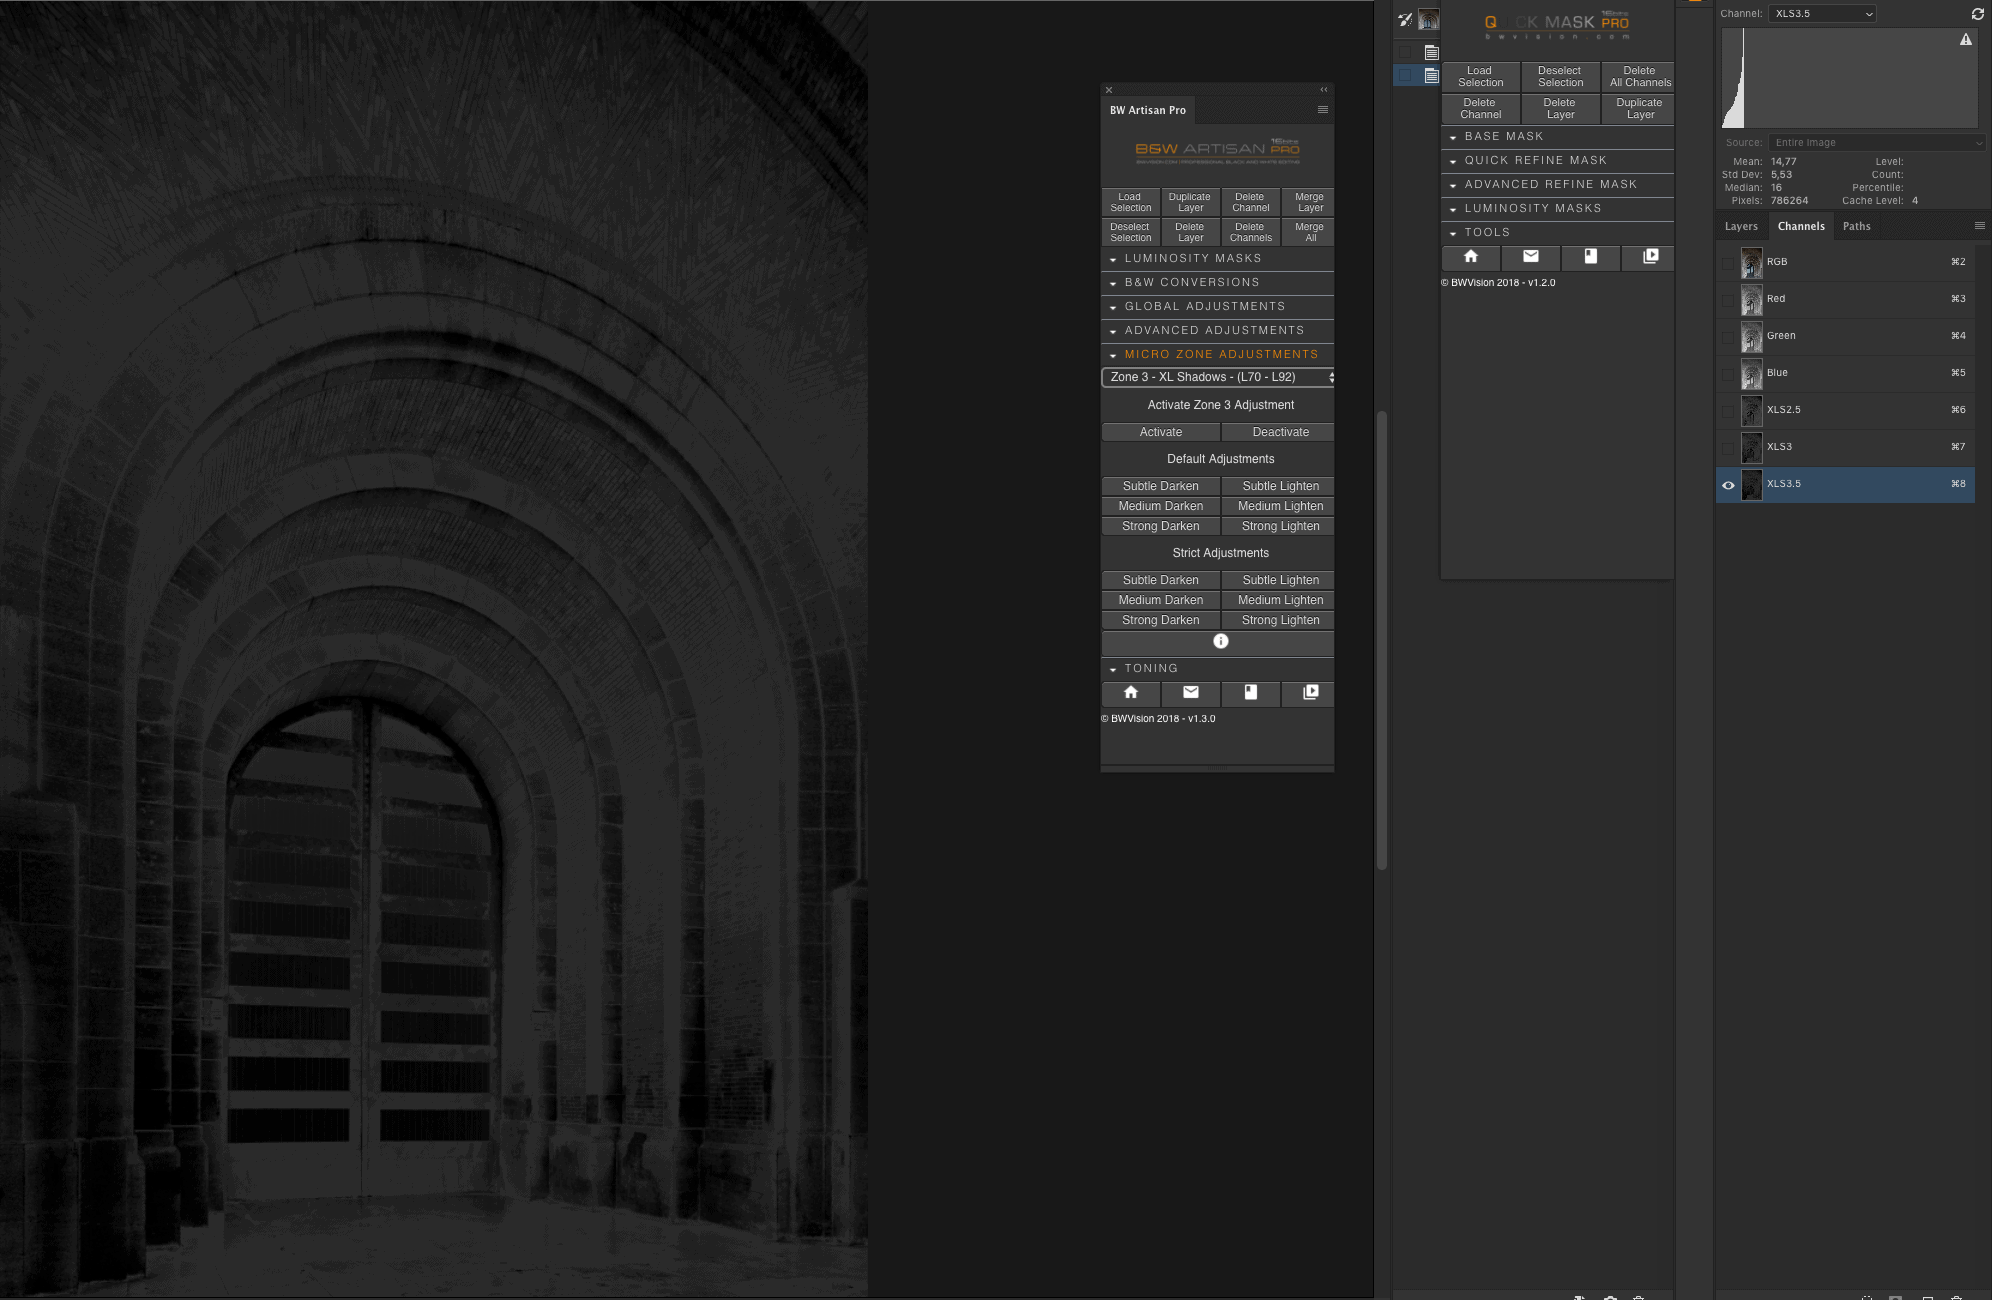
An important feature in the B&W Artisan Pro panels have always been the use of micro zones to adjust tonal values using free form selections within a specific tonal range. Up to now I’ve always used standard, linear, luminosity masks, including symmetrical mid tone masks, automatically generated when hitting a preset in the panel, to enable a feature like micro zones. Since linear luminosity masks (why they’re called linear will be explained in this article as well) work only well to isolate a specific tonal range or zone when they’re at the opposite ends of the grayscale, zone 0 or zone 10, and do not isolate a targeted zone exclusively when trying to isolate zone 8 for example, the solution would be in a non-linear symmetrical or asymmetrical mask.
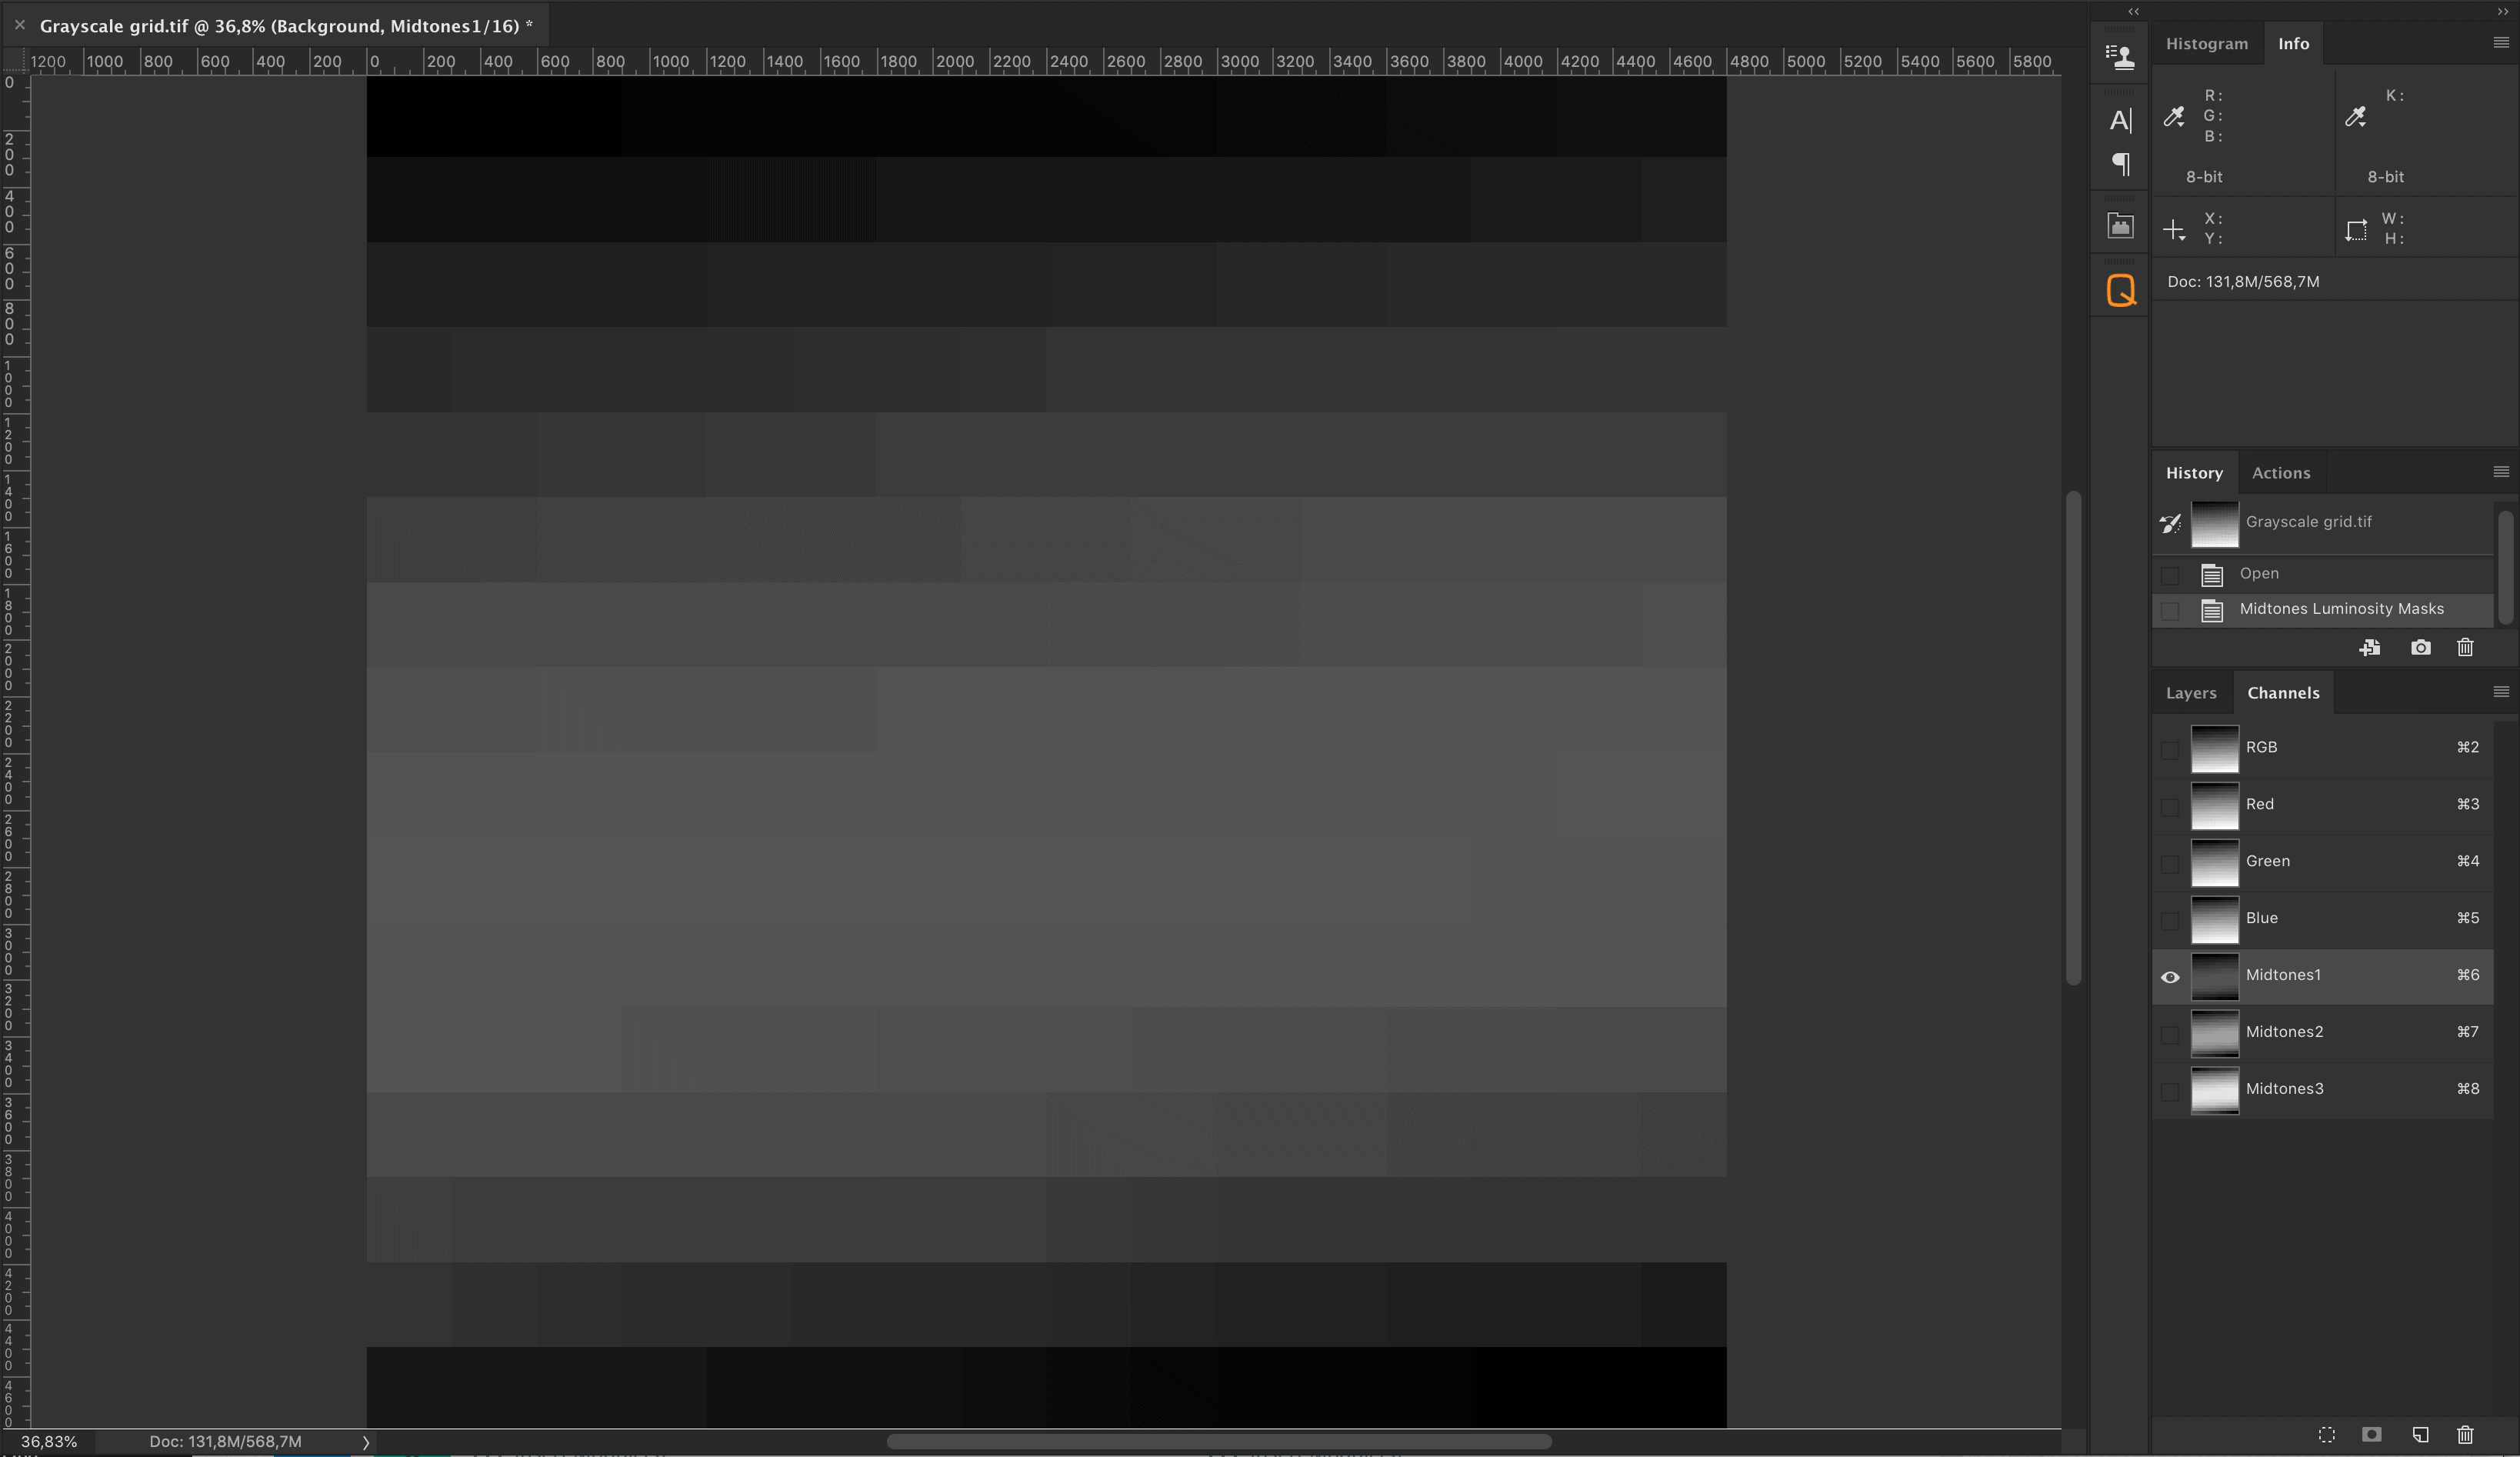
Conventional luminosity masks like Lights2 or Darks3 are linear masks. A luminosity mask created for mid-tones is symmetrical as it is intended to exclude the highlights and shadows. A variation on luminosity masks are the zone-masks that also have been developed by Tony Kuyper and are asymmetrical as they target only a specific zone, while excluding other zones.
See the following pages for examples of the asymmetrical masks used in this panel and how they differ from conventional, linear, luminosity masks.


9 Responses
Hi Joel,
As there have been a couple of significant updates on the original panel, I was wondering if you’ve any plans on doing another tutorial incorporating the new addition’s?
Thank you,
Tim.
Tim, yes I have a new video tutorial in the making that should go live this week. Expect at least 2 videos before the end of the year.
Both panels (B&W Artisan Pro and Quick Mask Pro) are outstanding and impressive. They are very intuitive and well organised. Even their design and appearance is beautiful. Best quality without rival. Very good job, Joel.
Thank you very much Luis, I’m happy to hear this. And we won’t stop developing and improving. We’re just at the beginning of what’s possible:)
Hello, Video is good but having a PDF with all the explanation on how to use your panel is a must. I did not find any for the new panel. Thank you
Hello, thank you for your response: there are PDF’s with explanation, also updated explanations that you can access through the manuals button in the panel. Know that I’ve received many feedback that most users prefer video instructions and that your request for a PDF instruction is actually quite rare and for that reason the most extensive explanations can be found in the videos (16 in total and more coming up this weekend). Also most of the new features can only be explained clearly over video. It is a consideration towards video, but to say there’s no PDF on the new panel is pertinently incorrect.
Ever heard of Ansel Adams…? So now tell me again who is the inventor of the luminosity masking…
Tip: It’s not Tony Kuyper !
I would be a fool to talk about B&W photography and the various methods and techniques without knowing who Ansel Adams is. If you are a regular visitor of my website you would know that I know who Adams is. Since this is my website, my place, I would suggest you keep it respectful when responding to me. Ansel Adams invented the zone system in the analog era. Luminosity masks are a digital invention in Photoshop and are inspired by the Zone system from Adams. Ansel Adams died in 1984 years before Photoshop was introduced. Now tell me again who is the inventor of luminosity masking.
Not Tony Kuyper !